You can use ClickFunnels with any domain type. There are two stages, the first stage with us, and the second with ClickFunnels.
Stage 1 – Prepare Your Domain
Once you’ve chosen and registered your domain in your account, you’ll also need either a DNS or Hosting account.
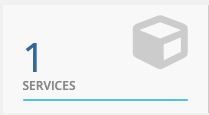
First, make sure you’re logged into my.netweaver.uk and click the ‘Services’ option.
![](https://help.netweaver.uk/wp-content/uploads/2021/04/services-menu.png)
Now, from your list of accounts, click ‘Active’ next to the domain you wish to use.
![](https://help.netweaver.uk/wp-content/uploads/2021/04/service-list.png)
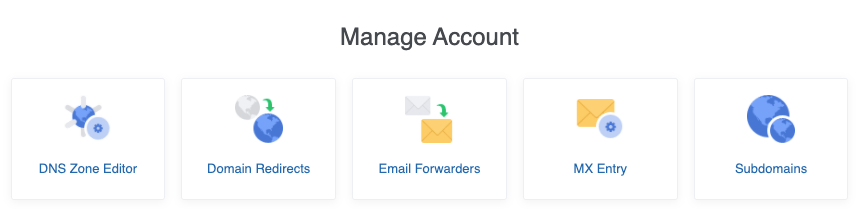
From the next screen, select the ‘DNS Zone Editor’ option.
![](https://help.netweaver.uk/wp-content/uploads/2021/04/forwarding-menu.png)
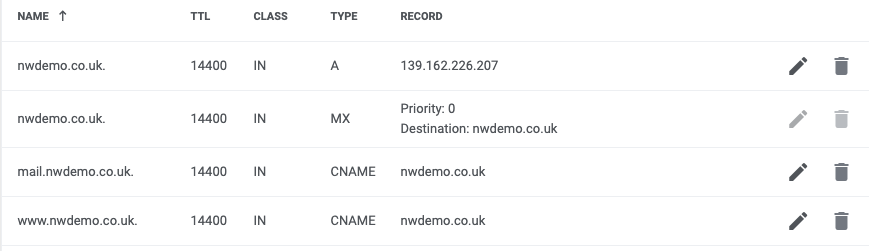
Select the pencil (edit) icon next to your domain.
![](https://help.netweaver.uk/wp-content/uploads/2021/04/domain-edit.png)
Locate the ‘www’ record and click the pencil (edit) icon.
![](https://help.netweaver.uk/wp-content/uploads/2021/04/edit-www.png)
In the ‘CNAME’ box at the bottom, change the contents to: target.clickfunnels.com
![](https://help.netweaver.uk/wp-content/uploads/2021/04/cname-box.png)
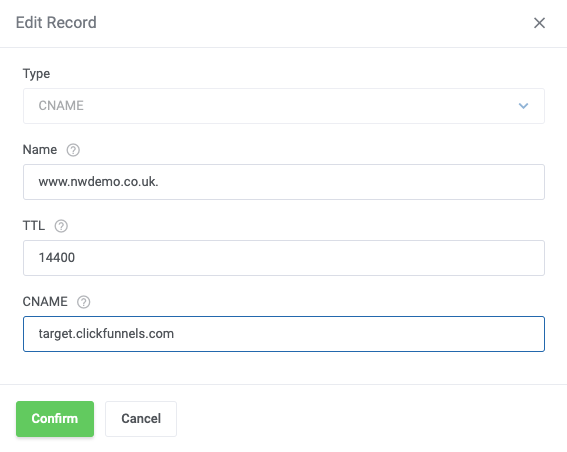
Click the ‘Confirm’ button to save the change.
Stage 2 – ClickFunnels
Log in to your ClickFunnels account
Hover over the main menu on the top right-hand corner and select Account Settings.
![Integrate_External_Domain_With_ClickFunnels_1.png](https://help.clickfunnels.com/hc/article_attachments/360100025453/Integrate_External_Domain_With_ClickFunnels_1.png)
On the left-hand side, select Domains.
![Integrate_External_Domain_With_ClickFunnels_2.png](https://help.clickfunnels.com/hc/article_attachments/360097754614/Integrate_External_Domain_With_ClickFunnels_2.png)
Select Add New Domain.
![Integrate_External_Domain_With_ClickFunnels_3.png](https://help.clickfunnels.com/hc/article_attachments/360097755654/Integrate_External_Domain_With_ClickFunnels_3.png)
Select Use an existing domain.
![Integrate_External_Domain_With_ClickFunnels_4.png](https://help.clickfunnels.com/hc/article_attachments/360100028873/Integrate_External_Domain_With_ClickFunnels_4.png)
Enter your external custom domain.
![Integrate_External_Domain_With_ClickFunnels_5.png](https://help.clickfunnels.com/hc/article_attachments/360097756794/Integrate_External_Domain_With_ClickFunnels_5.png)
8. Select Add domain.
![Integrate_External_Domain_With_ClickFunnels_7.png](https://help.clickfunnels.com/hc/article_attachments/360097757334/Integrate_External_Domain_With_ClickFunnels_7.png)
On the next page, select I’ve done this step.
![Integrate_External_Domain_With_ClickFunnels_8.png](https://help.clickfunnels.com/hc/article_attachments/360097773174/Integrate_External_Domain_With_ClickFunnels_8.png)
Review the information in the pop-up and select the Close button.
Select a funnel from the list in the drop-down menu. (optional)
![Integrate_External_Domain_With_ClickFunnels_10.png](https://help.clickfunnels.com/hc/article_attachments/360100047573/Integrate_External_Domain_With_ClickFunnels_10.png)
- Select Associate funnel.
![Integrate_External_Domain_With_ClickFunnels_11.png](https://help.clickfunnels.com/hc/article_attachments/360100047693/Integrate_External_Domain_With_ClickFunnels_11.png)
You’re all done – it may take a little while for the changes to take effect. If nothing is showing after a few hours, it may be worth double checking all the steps are complete.