To create a Git™ repository, first login to your control panel.
From here, visit the Git™ Version Control option.

Click the ‘Create’ option.
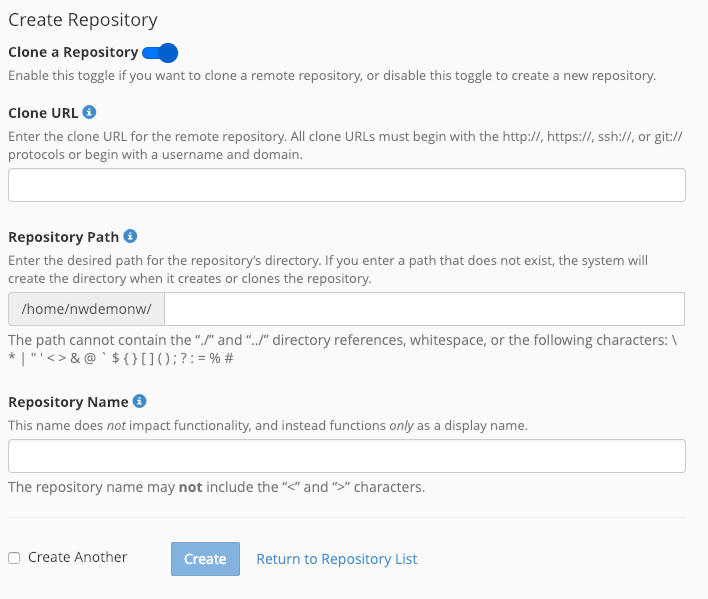
Choose your path and a name for your repo, and if you’d like to clone an existing URL or start from scratch. Click ‘Create’ and the repo will be setup for you.

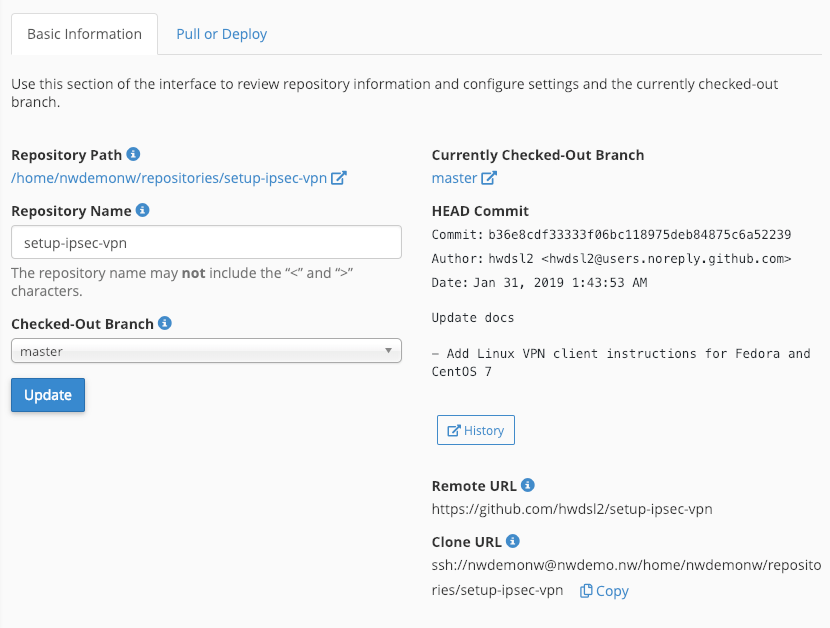
You can now manage your new repository – or remove it.
Click ‘Manage’ to view the many options available to you.