Configuring Error Pages
When a user visits your site and gets an error page, you can configure custom error page rather than just a default page.
Note: If you have WordPress or other similar CMS applications installed. This may not work and you may have to configure a custom error page through the CMS application itself.
Step 1. Open cPanel and select ‘Error pages’
Once you have logged in to the control panel, using the search bar at the top search ‘Error Pages’.

Step 2. Select the Domain
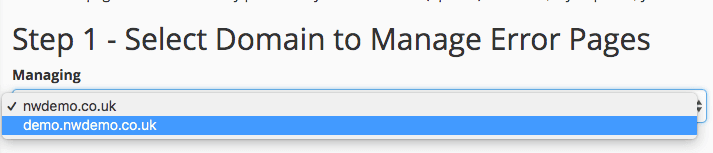
Underneath the heading ‘Step 1 – Select Domain to Manage Error Pages’. Select the domain you wish to create your custom page for.
Step 3. Select the type
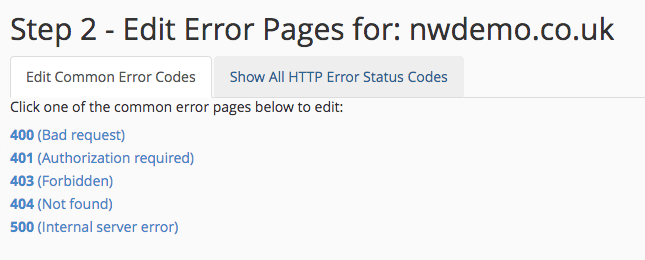
Underneath the heading ‘Step 2 – Edit Error pages for:’, select the code you would like to edit for. In this example we are going to use ‘404’ as it is fairly easy to test once the HTML has been written.
Step 4. Writing the HTML page for your Error
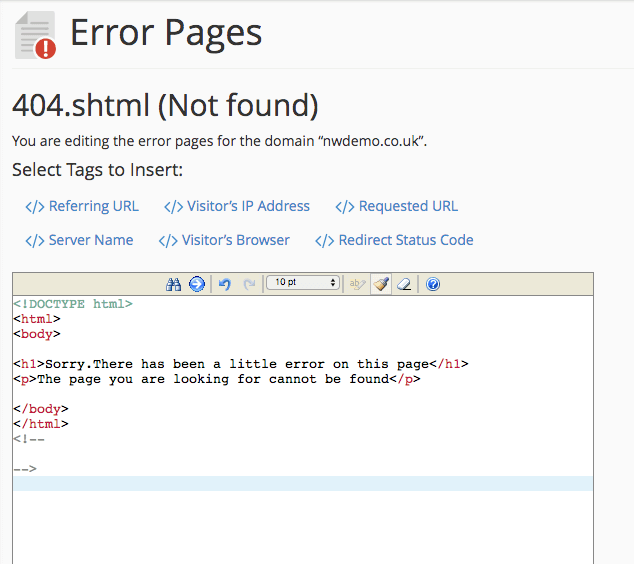
In the box provided, you can type the HTML code for your custom page. Above is some simple code we have used for the example.
Once you have done, Click ‘Save’ at the bottom.
Your message page should now appear whenever that specific problem is called on your site. Although this does not fix the underlying problem or find what may have caused it, it gives a more professional look to your site when something does go wrong and informs users that they are still on your website and have not be redirected away. They are then more likely to wait or retry until the problem is resolved. Most content management services will have this feature built in or will allow you to make your error pages using their service which will keep the theme and make your error pages look similar to the rest of your site.