First, in your control panel, navigate to the ‘Calendars and Contacts’ section. Here you will be presented with the connection details you need.
In Thunderbird (v91 at the time of writing) click: File > New > Calendar
and you will be presented with the following menu.
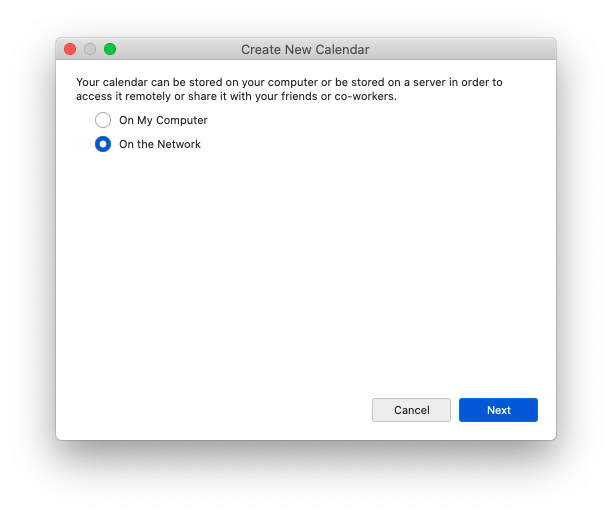
Select ‘On the Network’ and click ‘Next’
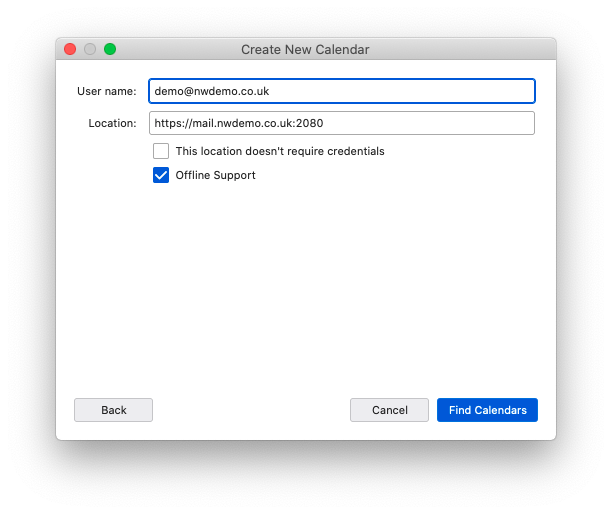
Your username is that of the corresponding email account setup in Thunderbird, and the Location is the ‘Server URL’ from the control panel. Make sure credentials box remains unticked and click ‘Find Calendars’.

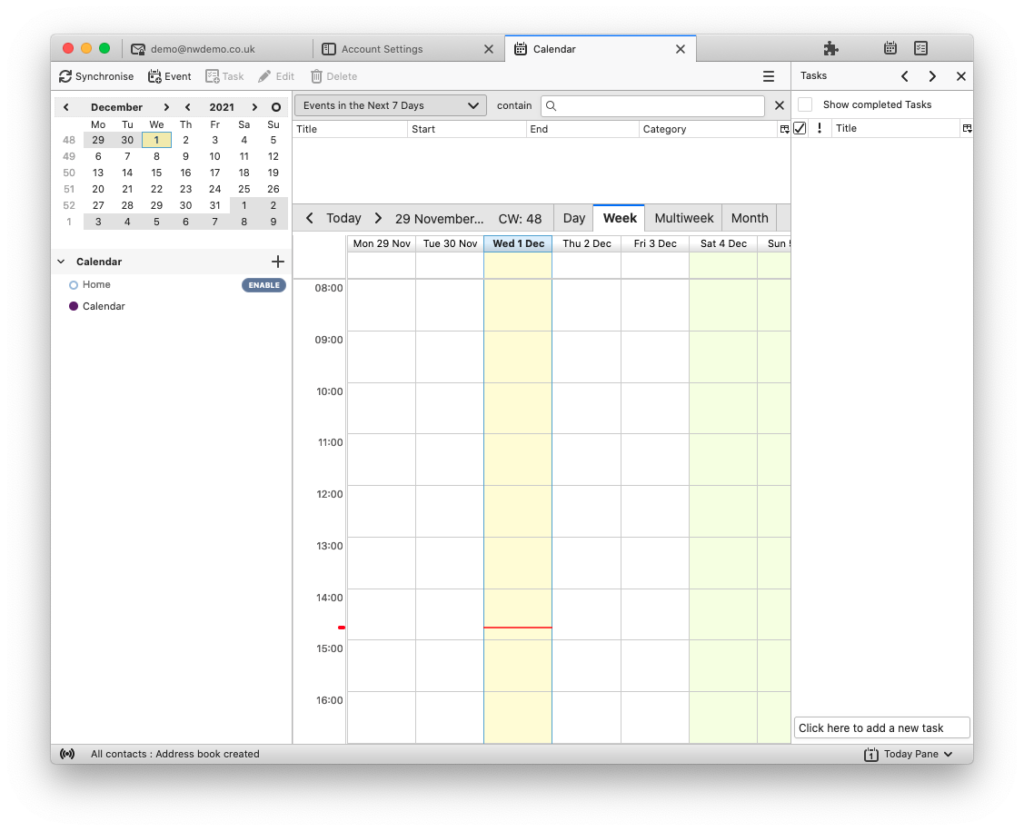
Select the calendars you wish to synchronise and click ‘Subscribe’. You’ll then be able to view your shared calendar within Thunderbird.