This is a guide on how to install the desktop synchronisation client for OwnCloud.
Step 1: Download OwnCloud
First of all, you need to visit the OwnCloud website. Scroll down until you see the option to download the desktop client for MacOS as seen below.
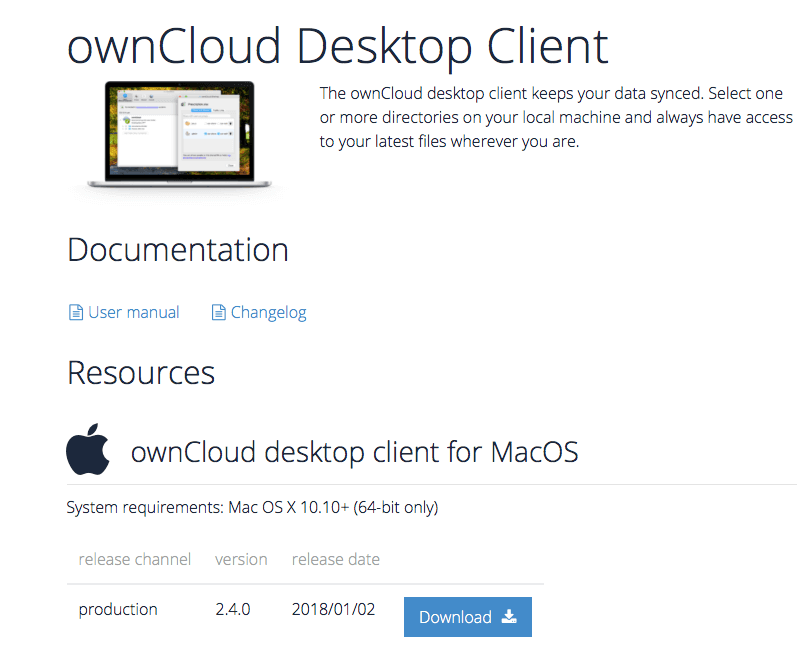
Click ‘Download’ and wait for the file to download.
Step 2: Installing OwnCloud
Now you need to find the .dmg installer file. It will usually be in your dock at the bottom of your desktop or on your desktop itself. If it is in neither of these places, open finder and look in your “Downloads” folder.
Open the install client for OwnCloud
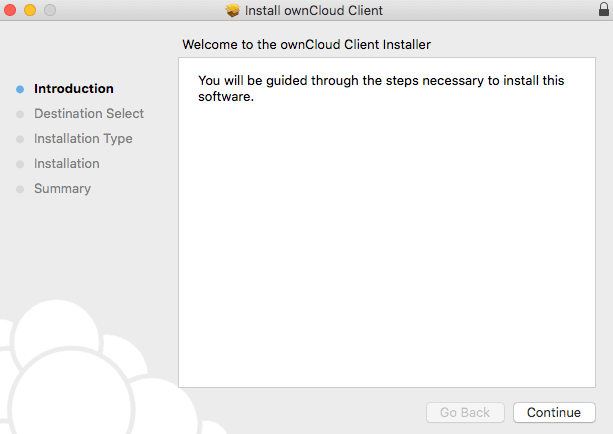
The installation wizard takes you step-by-step through configuration options and account setup. Click ‘Continue’ and proceed on to the next step.
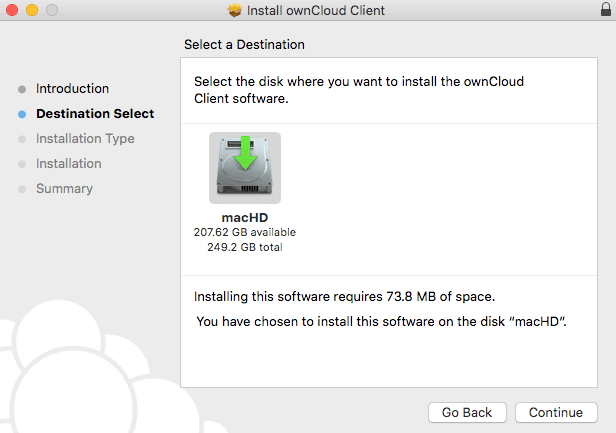
Choose the destination you wish to install OwnCloud to and click ‘Continue’ then on the next page click ‘Install’ and you have successfully installed the application.
Step 3: Setting up the application
Go to Launchpad and find the ownCloud application.
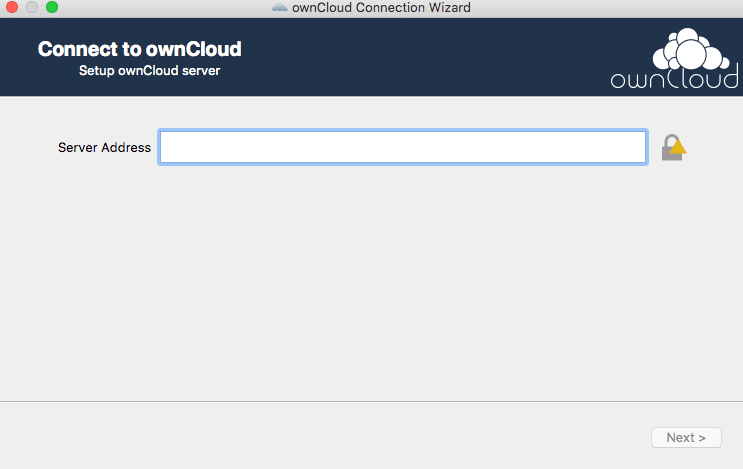
You will then need to enter your server address to access all of your files.
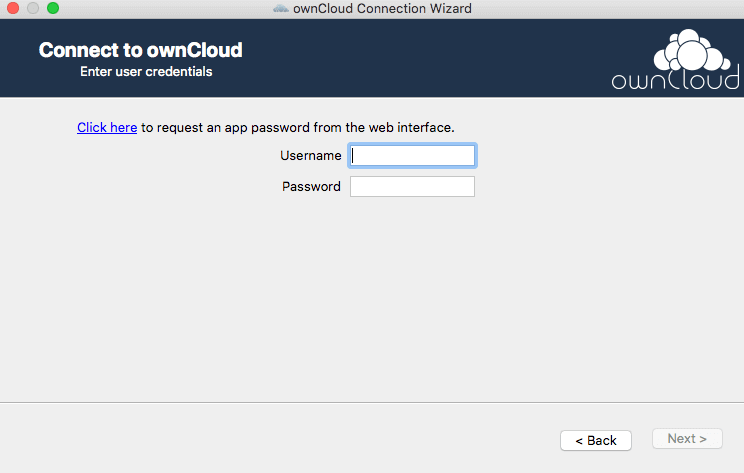
On the next screen enter your ownCloud login and password.
Now you can select which folders and files to sync, and the location of your ownCloud folder.
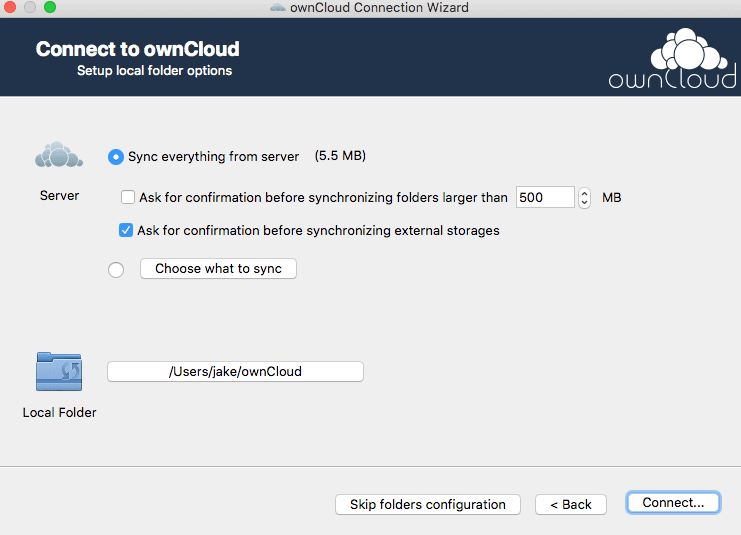
Click ‘Connect…’ and all of your files will sync and you have successfully installed and setup the desktop client for ownCloud.