Rainloop is an attractive, fast and easy to use webmail client. You can install this to your account.
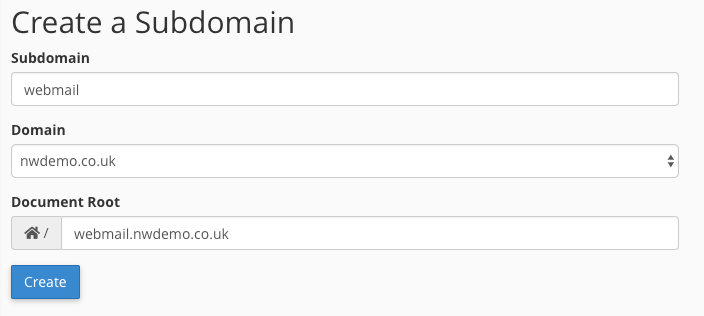
Firstly, login to your control panel and create a subdomain where you wish to install it. You can do this via the Subdomains option under Domains.

I just went for webmail as my subdomain and the default options.
Return to the main menu and go to the File Manager option.

Navigate to the folder you created in the earlier step.
Use the following link to download the installer:
https://repository.rainloop.net/installer.php
Return to File Manager and upload that file into the new folder by selecting the ‘Upload’ option.
![]()
Now, in a new browser tab, visit the file you’ve just uploaded, for example, mine would be:
http://webmail.nwdemo.co.uk/installer.php
RainLoop will now automatically install. By now your SSL certificate should have auto-installed, so we can switch to using https for security. Visit the admin area, in my case this would be:
https://webmail.nwdemo.co.uk/?admin
The default username is admin and the password is 12345
As soon as you login, please change the password to something secure.
To be able to access your email, visit the ‘Domains’ option.
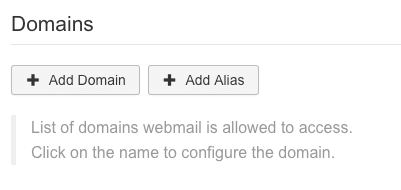
You’ll probably want to delete the pre-installed options here, then click ‘+ Add Domain’
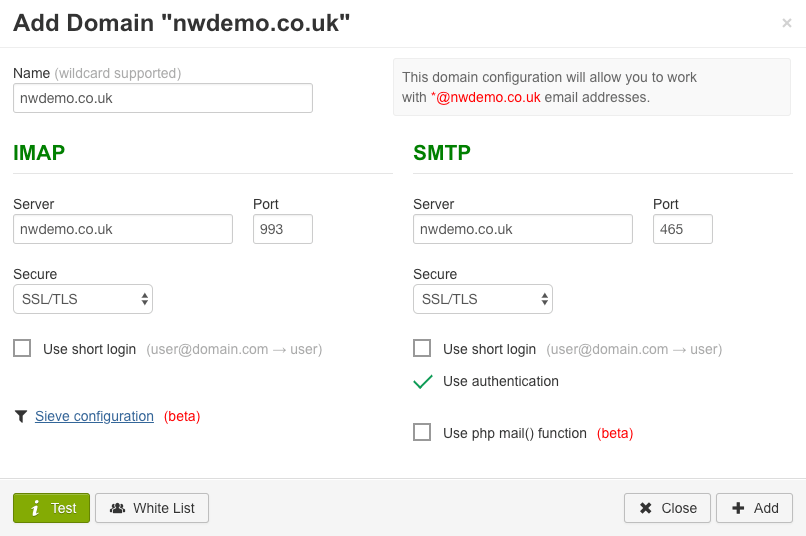
Type your domain name (without any www) in the Name box, then the only other options you should change is to switch the ‘Secure’ menus for both IMAP & SMTP to ‘SSL/TLS’. Click the test button which should then change green, and click ‘Add’.
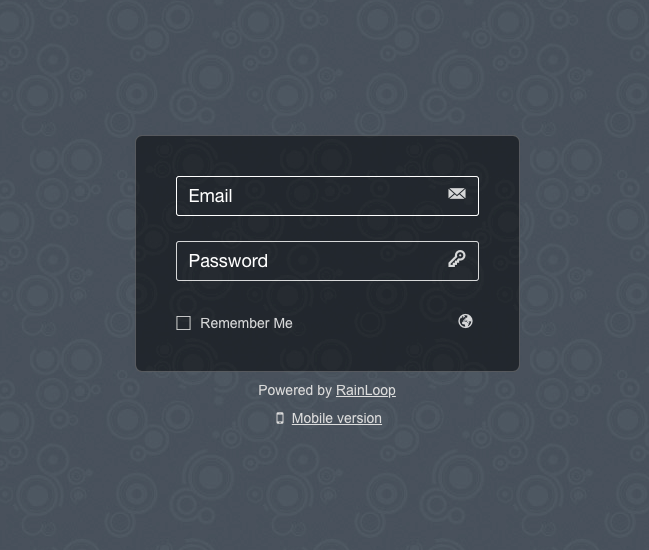
You should now be able to visit your new subdomain and access your email by logging in with the email address and password. Don’t forget to use the https version to keep your login details secure.
Upon logging into the admin area, you’ll see the following warning:

To resolve this, return to the File Manager and visit the ‘data’ directory in your new webmail folder.
We need to create a new file, so click:
![]() and in the popup type: .htaccess
and in the popup type: .htaccess
(note the dot before the text)
The file will be created – if you can’t see it, then it’s because this type of file is hidden by default. Click the ‘Settings’ button in the top right hand corner.
![]()
In the menu that opens up, tick the ‘Show hidden files’ box.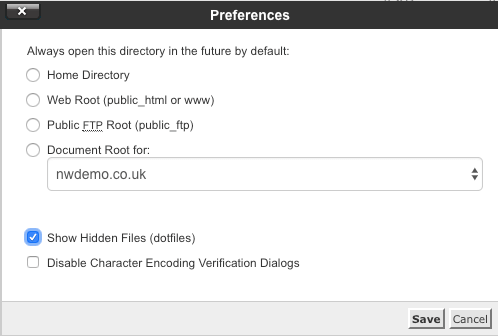 and click Save.
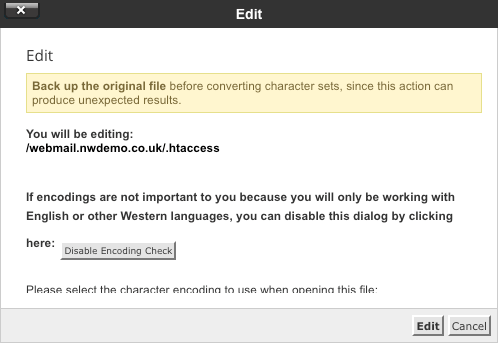
Now, click the .htaccess file and click Edit.
![]() Then click ‘Edit’ on the popup.
Then click ‘Edit’ on the popup.
Copy and paste the following into the editor:
<Files .htaccess>
Order allow, deny
Deny from all
</Files>
It should look like this:

Click![]()
You’re now good to go. Any problems, please get in touch.