ExpressionEngine is a powerful content management system which, as of V5, has been released as free open source software.
Step 1 : Create a mySQL database
Firstly, create a mySQL database to use for ExpressionEngine. There’s a guide here. Give the user all privileges.
Be sure to make note of your database name, username and password.
Step 2 : Upload the files
You can get a copy of the latest version of ExpressionEngine here.
Using the File Manager in your control panel, select the ‘public_html’ directory.
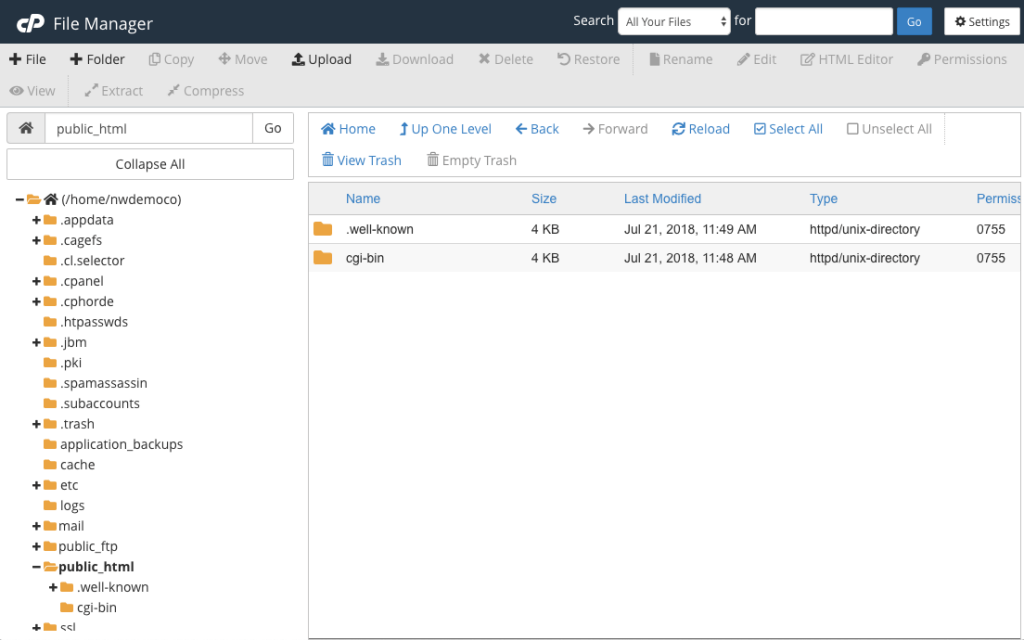
Select the ‘ Upload’ option and proceed to select the .zip file you’ve just downloaded.
Then select the zip file in the File Manager and click ‘Extract’
Assuming you’re wanting to use ExpressionEngine for your default website, the standard directory is fine – if you want it in a subdirectory or subdomain, select to extract to there.
Step 3 : Configure the installation
Visit the website you’ve just uploaded the files to, with /admin.php on the end – for our example that’d be www.nwdemo.co.uk/admin.php
You’ll be presented with a form to input some details.
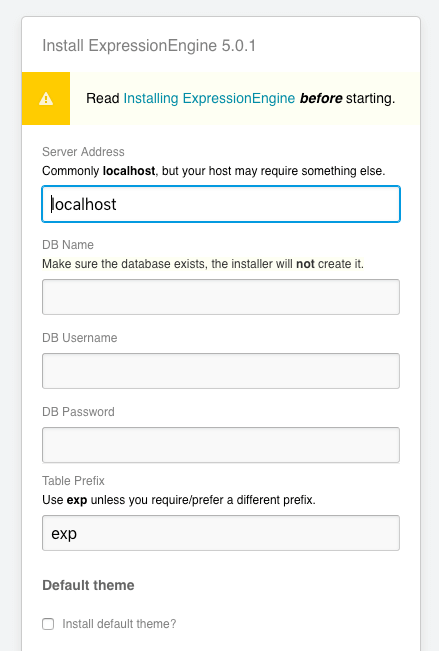
Leave the server address as ‘localhost’ and enter the details from the mySQL database created earlier. I’d advise installing the default theme. Then setup your admin login and agree to the terms as you wish. Then click ‘Install’.
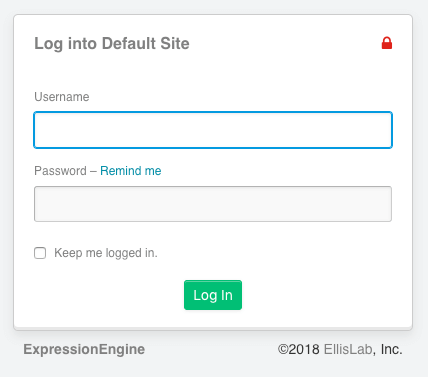
After a few seconds you’ll be redirected to the login page.
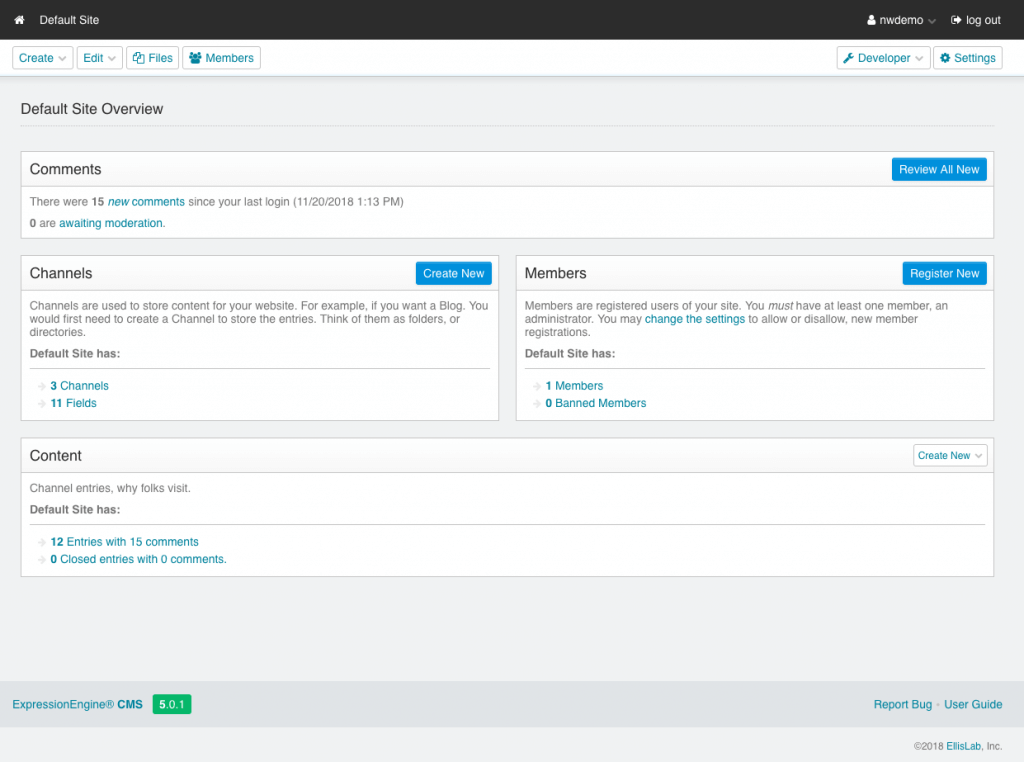
Step 4 : Begin building your website
Once logged in you’ll be presented with the ExpressionEngine web interface. From here you can begin building your website. It’s an extremely powerful and customisable system – you can view the user guide here.