Setup Shared Contacts on iPhone or iPad (CardDAV)
By setting up shared contacts, you can share contacts with users on their specific device, so these are viewable through the application on their phone.
Before carrying out this setup, if you have not previously done already, we recommend you setup a new email account specifically for the contacts. This means you do not have to share your cPanel password with anyone else. If you are not aware on how to setup an email account, you can learn how to using our helpful guide on creating an email account. For this example we created an account called contacts@nwdemo.co.uk.
Step 1. Login to cPanel and open Calendars and Contacts.
You can do this by searching ‘Calendar’ in the top search bar on cPanel and selecting the ‘Calendars and Contacts’ option.

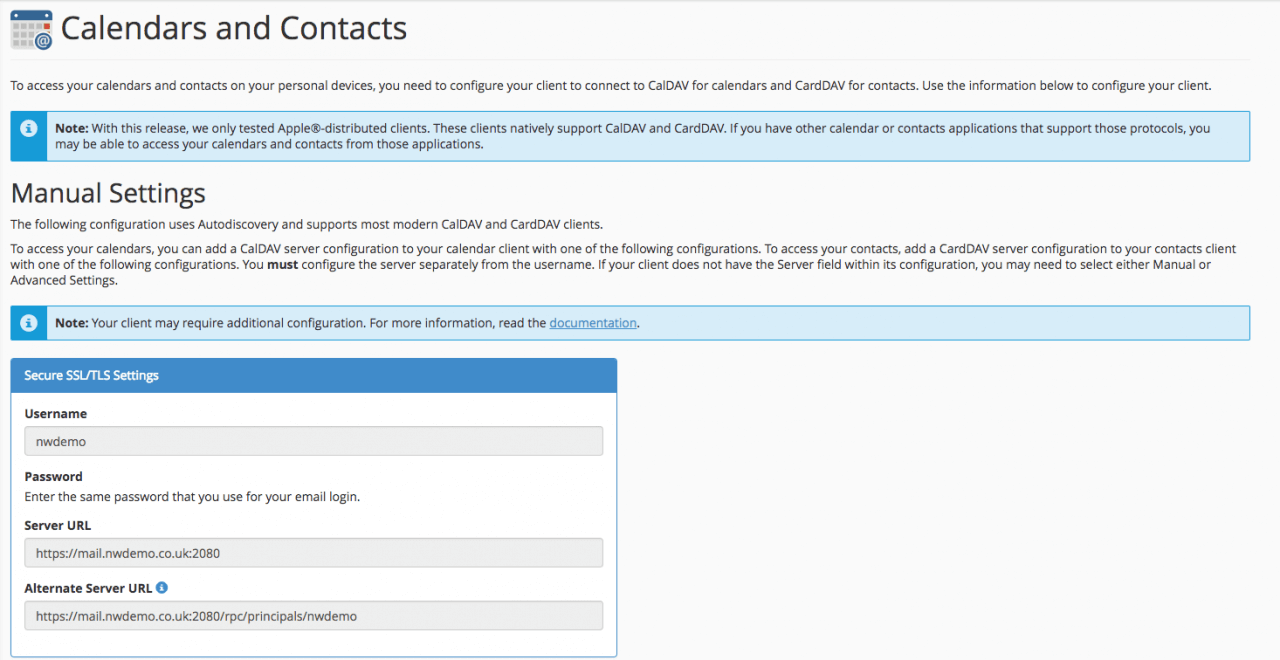
Step 2. Server Settings
On the Calendars and Contacts page, you will be given some server settings. These will need to be referred back to when you come to setting up your calendar on your iPhone or iPad.

Step 3. Setting up on an iPhone or iPad
On your device, go to the homepage and open the ‘Settings’ application.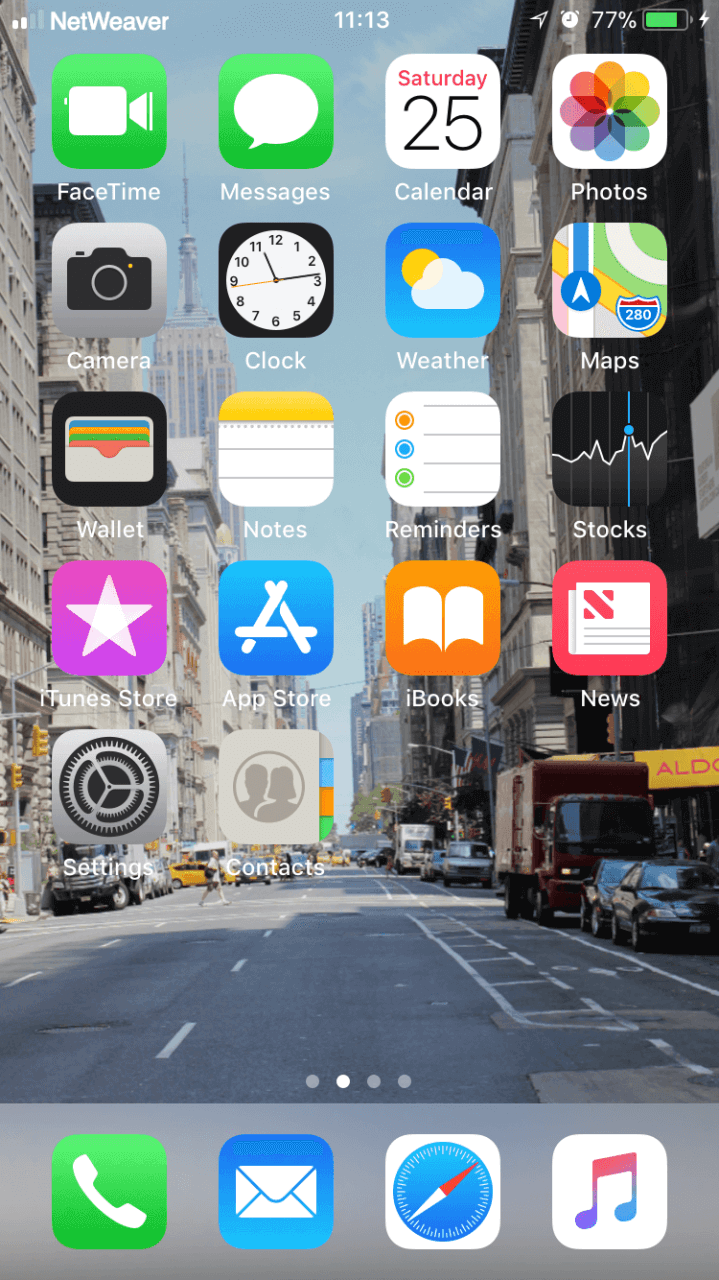
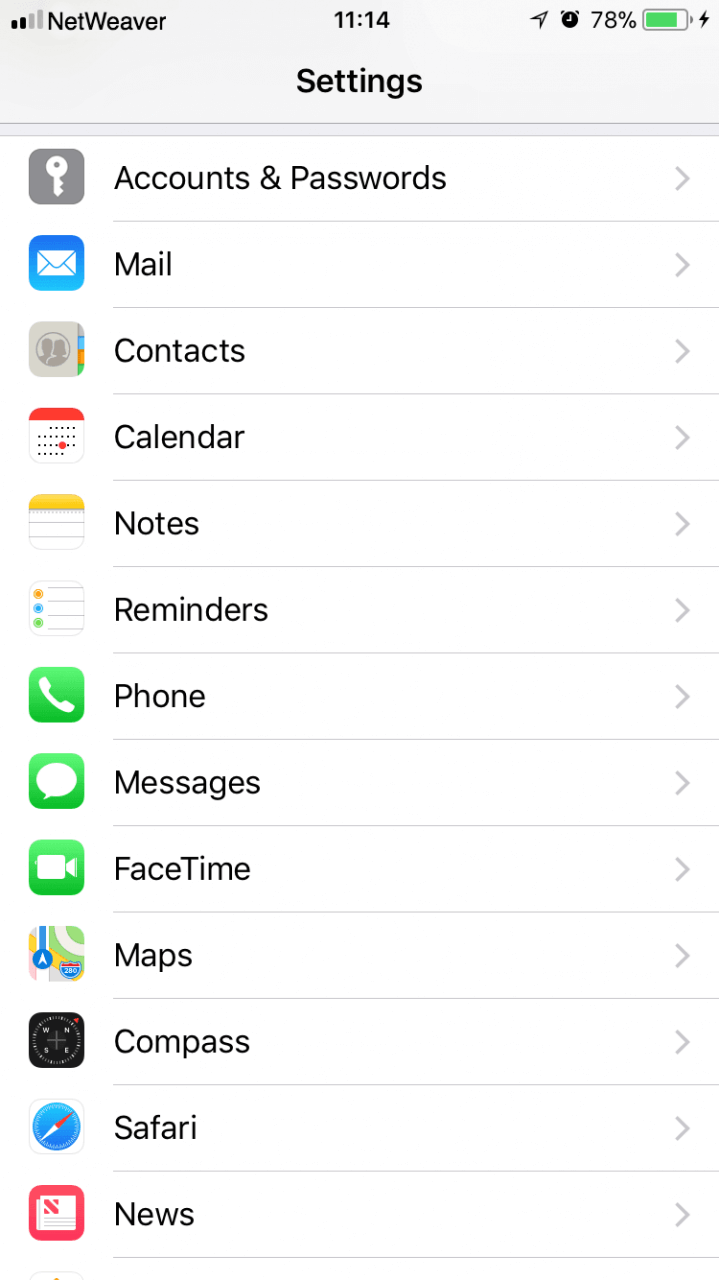
In the settings, scroll down to ‘Accounts and Passwords’.
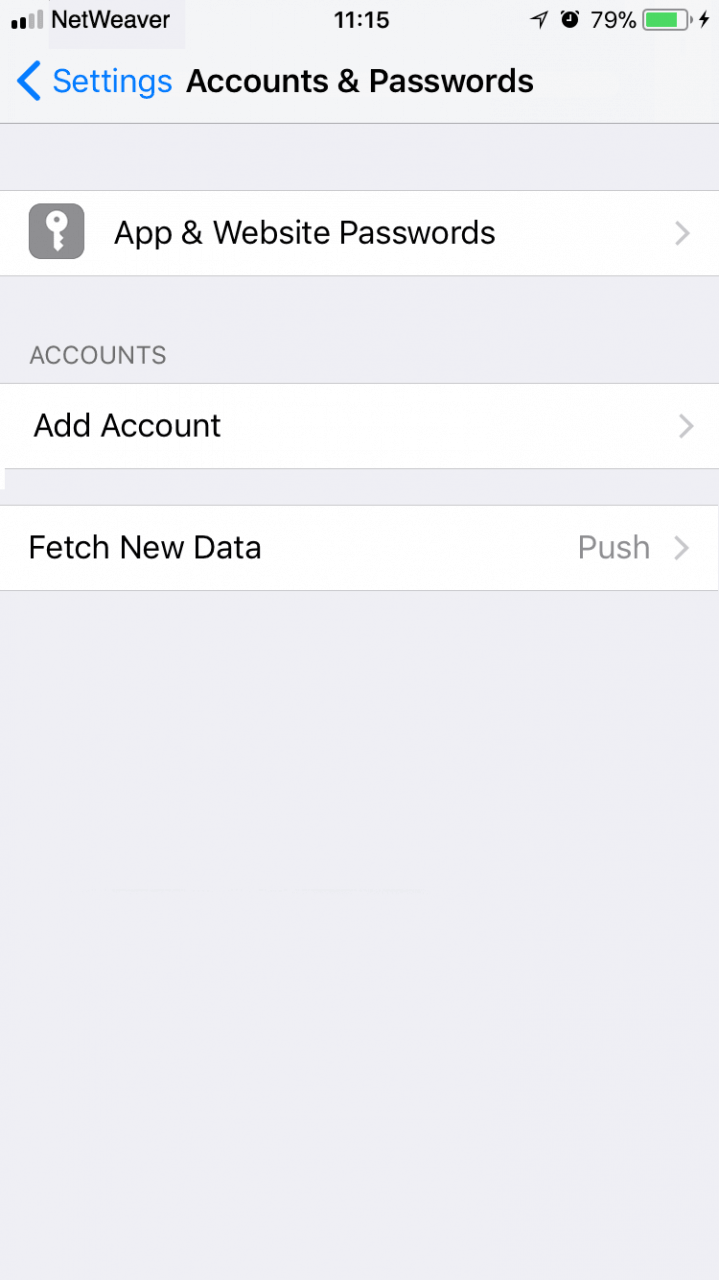
Select ‘Add Account’ under the ‘Accounts’ heading.
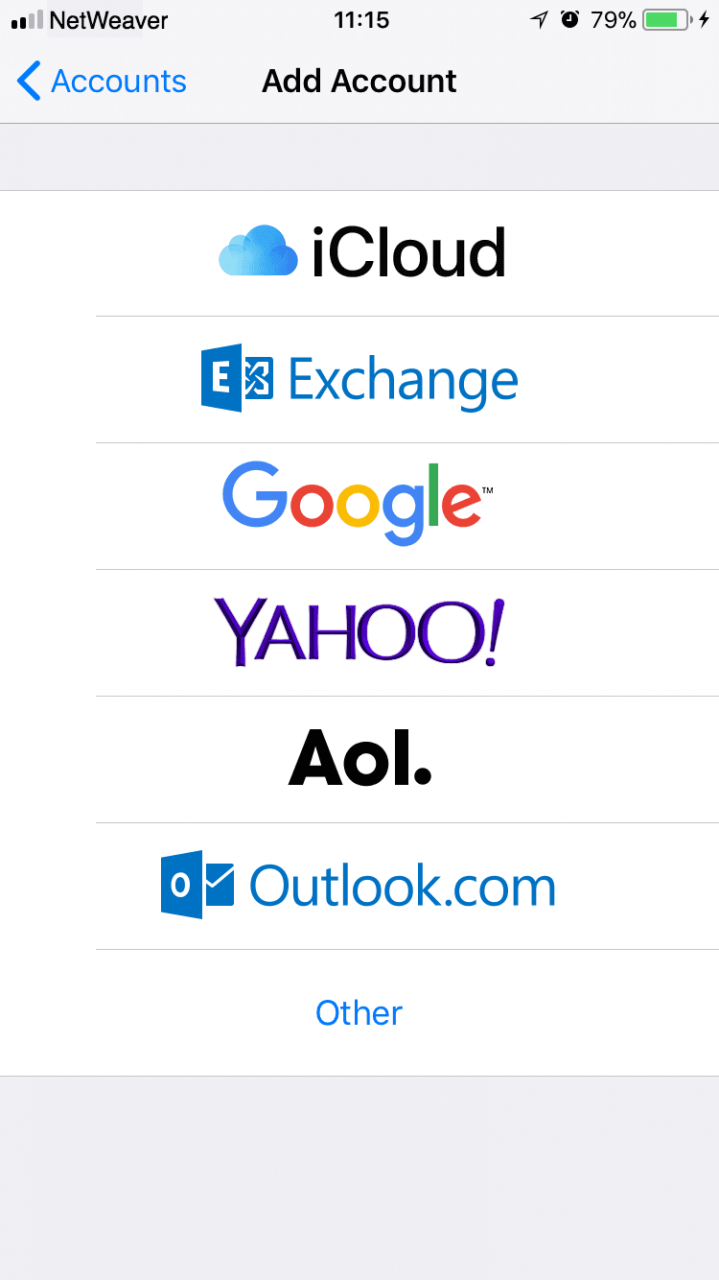
Select ‘Other’ at the bottom of the page.

Now under the ‘Contacts’ heading, select ‘Add CardDAV Account’.
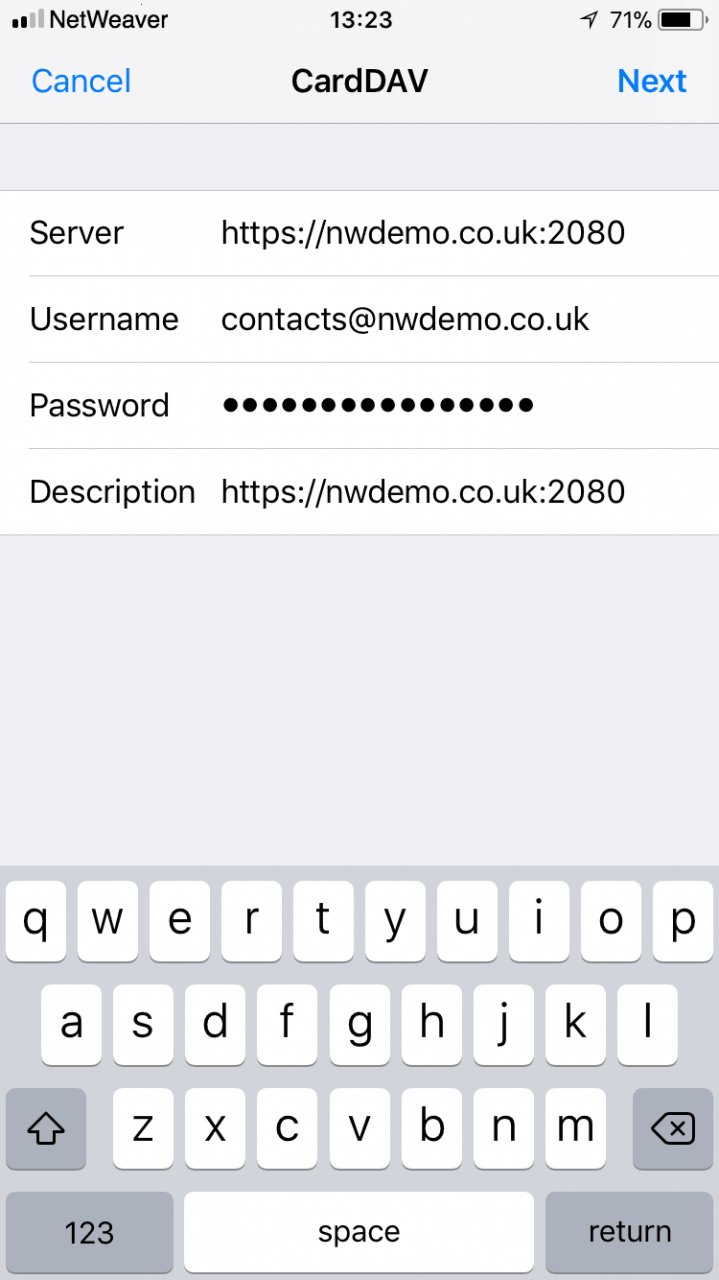
You will now need the server details from the cPanel that we found earlier. Input them in the corresponding boxes.
The ‘Server’ can be found on cPanel under the ‘Server URL’ heading. We recommend you use the ‘https:’ address as this is more secure. For ‘Username’, input the username for the email you created to control the contacts for everyone. Earlier we created one as ‘contacts@nwdemo.co.uk’. and then use the password for this account. Once you have ensured you have done this correctly press ‘Next’.
You should now have access to the shared contacts in the ‘Contacts’ application on your device. So any contacts shared with these contacts should be viewable on your device, any events you create will be viewable on other devices that have access to these contacts.