This guide will explain how to access and customise the Apache SpamAssassin settings in the control panel.
Navigating to the Spam Filter settings
Navigate to the control panel using our How to Access the Control Panel guide. Then, search for ‘Spam’ using the search bar near the top of the control panel and select the ‘Spam Filter’ link.
Filters
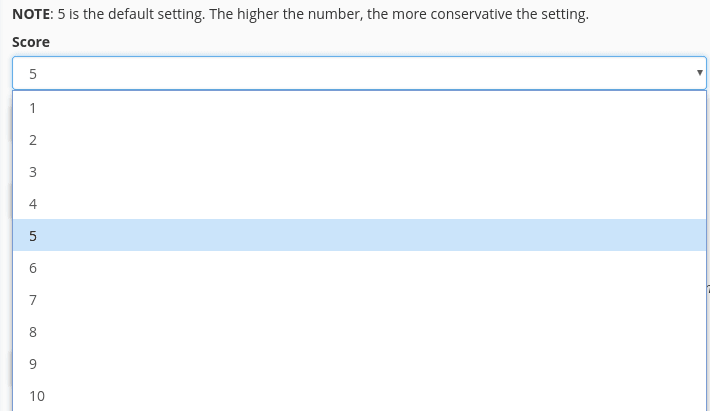
You can edit how conservative the spam filter is using the ‘Score’ drop down tool. A high score would be more conservative meaning that certain emails that you may consider to be spam would not be recognised as spam. However a low score may recognise important emails as spam so we recommend a default score of 5.
Auto-Delete Spam
When enabled, the Auto-Delete Spam setting automatically deletes any emails detected by the system as spam. You can enable this setting under the ‘Filters’ heading by selecting the blue ‘Auto-Delete Spam’ box.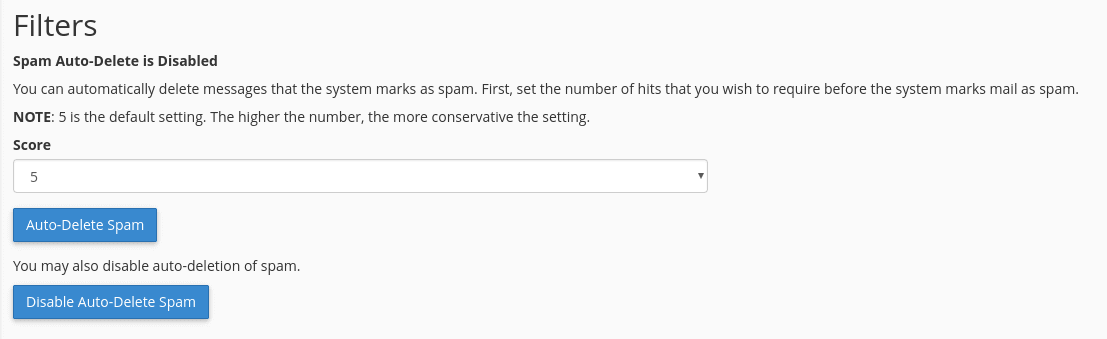
If you wish to disable this setting, select the ‘Disable Auto-Delete Spam’ box.
Spam Box
The Spam Box will deliver any emails identified as spam into a separate mail folder named ‘spam’. When disabled, you can enable this setting by selecting ‘Enable Spam Box’ under the ‘Spam Box’ heading.
When enabled, a ‘Disable Spam Box’ option appears. If you wish to disable the Spam Box, select ‘Disable Spam Box’.
You can also clear the Spam Box from here by selecting ‘Clear Spam Box’ on the right.
Additional Configurations (For Advanced Users)
To configure other SpamAssassin settings select ‘Additional Configuration’ under the ‘Spam Filters’ heading.
From here you can:
- Blacklist addresses – select specific addresses incorrectly tagged as non-spam
- Whitelist addresses – select specific addresses incorrectly tagged as spam