First, login to your control panel.
At the top you’ll see the welcome pane.
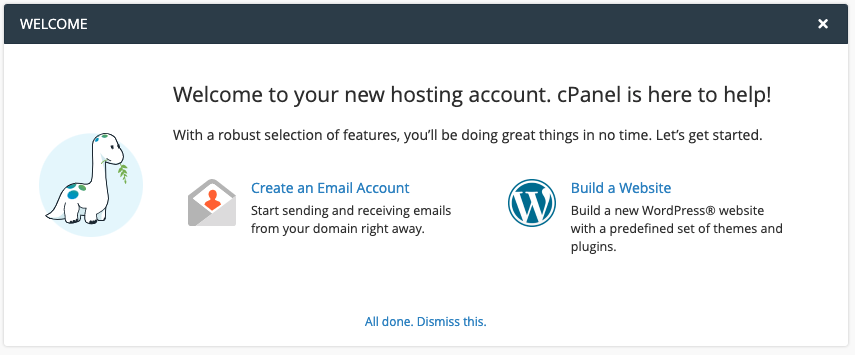
Next to the WordPress logo, click ‘Build a Website’ and you’ll be redirected to the WordPress Toolkit.
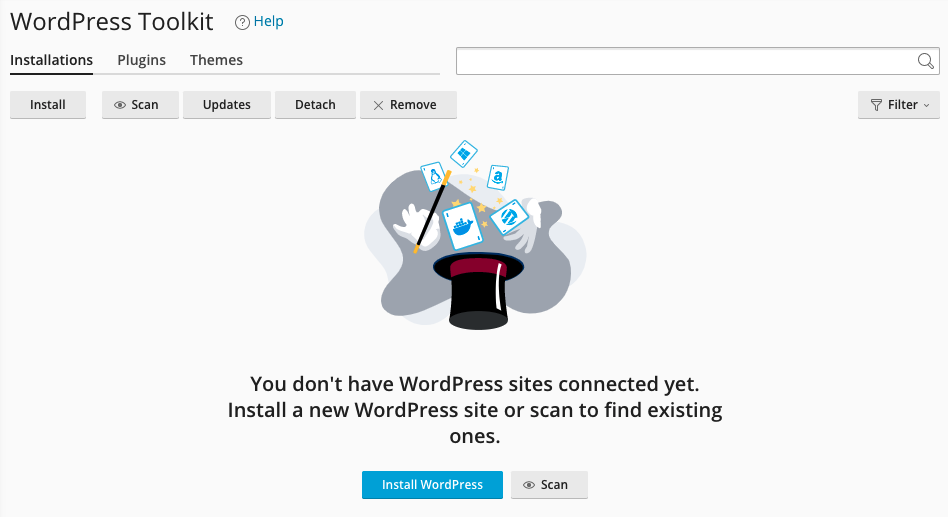
Click ‘Install WordPress’ to get going. You’ll be presented with a selection of options.
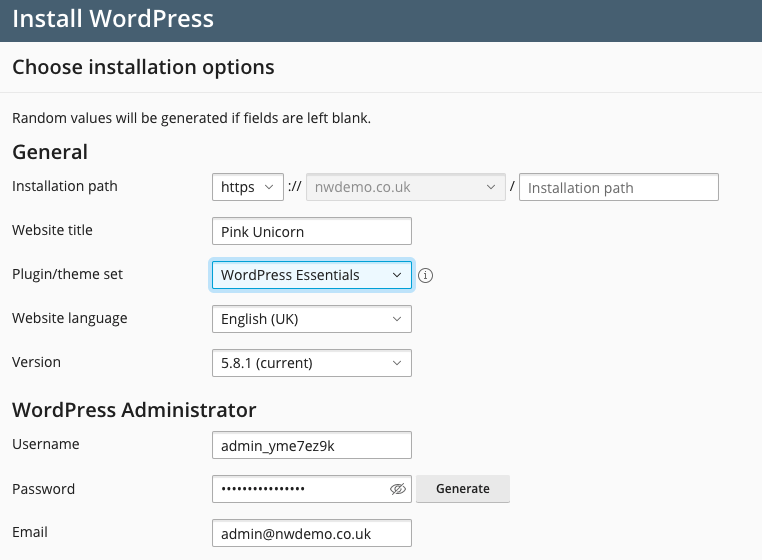
You can change any options as you wish and we recommend installing the ‘WordPress Essentials’ plugin set to get you started. Don’t worry though, these can always be added (or removed) later.
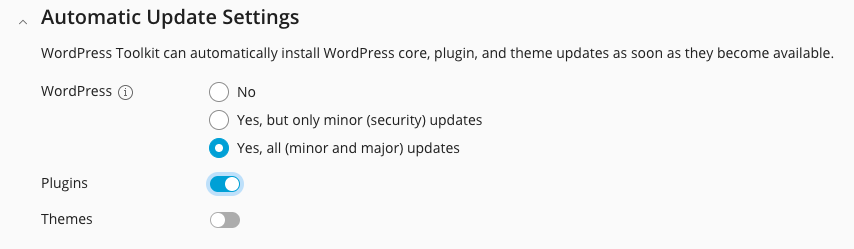
At the bottom you’ll see the Automatic Update Settings. These default to ‘Yes’ but for optimum security you should also enable these for Plugins.
Click to install and the toolkit will get to work. The progress is shown in the bottom corner.
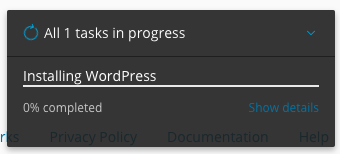
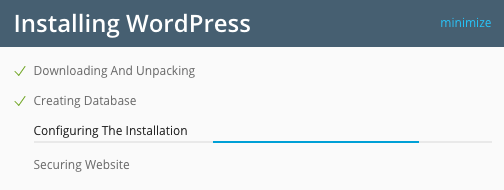
If you want to see what it’s up to, click show details.
Within a couple of minutes you’ll receive notice that the install has completed.
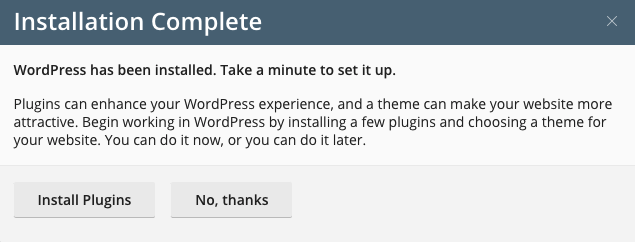
Click ‘No, thanks’ to return to WordPress Toolkit.
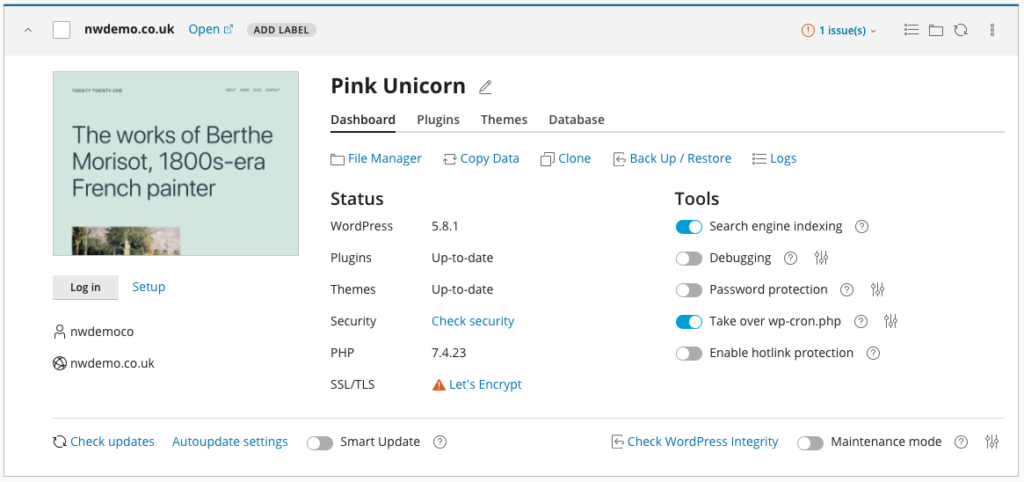
If there are any problems with your WordPress install, you’ll see the issues highlighted at the top. Click this to view the issues.
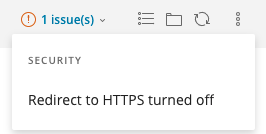
The Toolkit will also help you to resolve these by clicking on them.
Finally – we recommend enabling the ‘Smart Update’ feature. This will keep your WordPress site updated automatically, but also roll-back any updates if it detects any problems.

You can now access your WordPress site by clicking ‘Log In’. Alternatively, you can explore the other options in the Toolkit.