If you use MailChimp for customer Campaigns or Newsletters you will want to ensure your emails pass SPF (Sender Policy Framework) checks. SPF checks are checks carried out by receiving mail exchangers that the incoming emails are from legitimate senders. By carrying out authentication, it shows your receiver’s internet service provider you are a legitimate sender. In this guide I will explain how to authenticate your domain with your mail MailChimp account.
Step 1. Login to MailChimp
By visiting the MailChimp website, either login or set up an account with MailChimp.
Step 2. Login to cPanel
If you are unsure on how to do this, visit our guide on this.
It might be a good idea to have your cPanel open in one tab or webpage and your MailChimp account in another, as you will be swapping and changing between the two regularly.
Step 3. Verify your Domain
Going back to the tab with MailChimp open, in the top right corner, next to your account, click the and select ‘Account’.

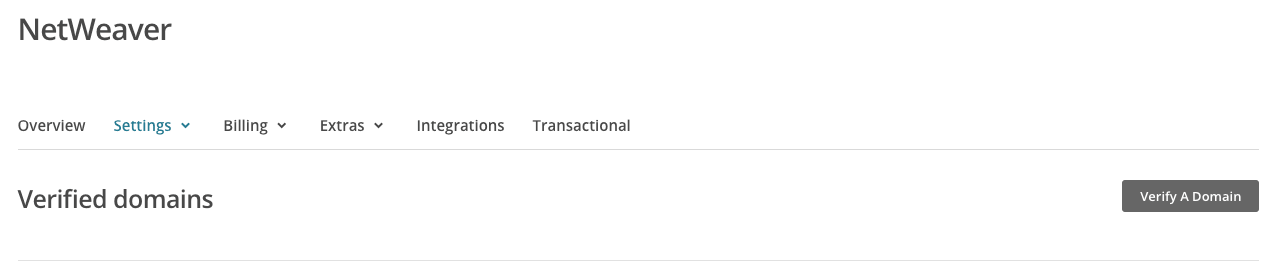
Now select ‘Verified Domains’.
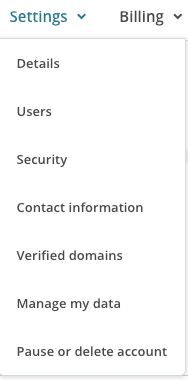
If you have not done so already, verify your domain, you can do this by clicking ‘Verify A Domain’ and following the steps to do so on MailChimp.
Step 4. Authenticate your Domain
Now go back to the tab you have open with cPanel and navigate to the ‘Zone Editor’ beneath the ‘Domains’ heading.
Next to your domain press ‘ CNAME Record’.

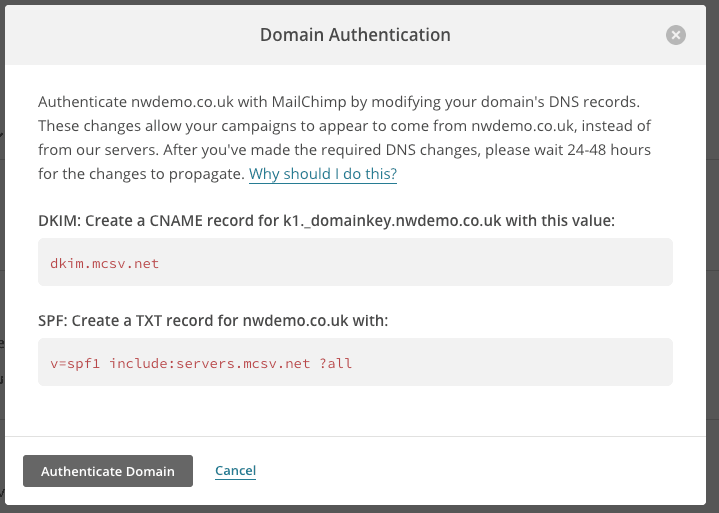
This should open a pop up window with a box with the heading ‘Name’ and ‘CNAME’. Under ‘Name’ you need to type:
k1._domainkey.YOUR_DOMAIN
Where ‘YOUR_DOMAIN’ is your actual domain.
Beneath the heading ‘CNAME’ you need to type:
dkim.mcsv.net
So if you were to create the CNAME for the nwdemo.co.uk, it would look somewhat like the following:
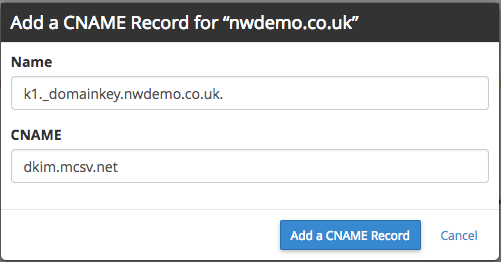
After doing this, select ‘Add a CNAME Record’.
This should now have been added.
You now need to create a text record. To do this, on the ‘Zone Editor’ select ‘ Manage’.
Press the next to ‘ Add a Record’.
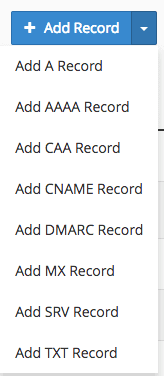
Select ‘Add TXT Record’.
A blue box should appear similar to the one below.

Under name input your domain, and under record input:
v=spf1 include:servers.mcsv.net ?all
Once you have checked this is correct, select ‘Add Record’.
Now you need to navigate to the tab with which MailChimp is open.
Beneath to your domain, it should look somewhat similar to this:

Where the red cross is, click the link which says ‘View setup instructions’.
A pop up should appear, at the bottom of it click ‘Authenticate Domain’.
Now your domain should be authenticated with MailChimp and you campaigns should pass SPF checks.
