First, login to your control panel and visit the Calendars and Contacts section. Here you’ll see the connection details you need.
In Thunderbird (v91 at the time of writing) click to visit the ‘Address Book’ section.
From the menu select ‘File > New > CardDAV Address book…’
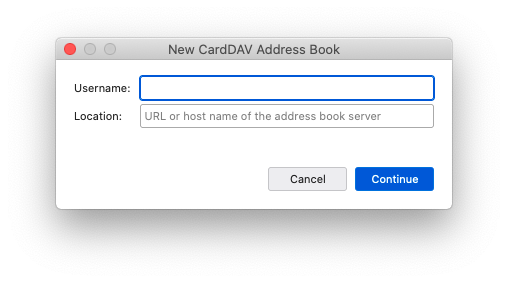
Enter your email address, as setup in Thunderbird, for ‘Username’ and the ‘Server URL’ from the control panel in the Location field. Then click ‘Continue’.
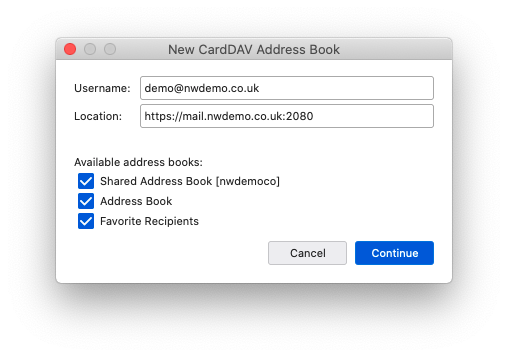
Select the address books that you wish to use, and click ‘Continue’.

You can now manage shared and person addresses within Thunderbird.