f you wish to use SquareSpace to make your website but want to host with NetWeaver, you will have to have certain DNS settings applied.
Step 1. Login to SquareSpace
Visit the SquareSpace website and login to your account.
Step 2. Login to cPanel
If you are unsure on this step, see our guide on how to do this.
It might be a good idea to do this in another webpage or tab, since you will be swapping between the two quite frequently.
Step 3. Go to your SquareSpace Site
Go to your existing SquareSpace site on your tab open with the Dashboard.

Step 4. Add your Domain to SquareSpace
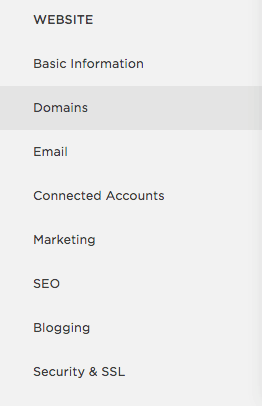
Once you have opened your site on SquareSpace, select ‘Settings’ on the left hand side menu.

Then select ‘Domains’.
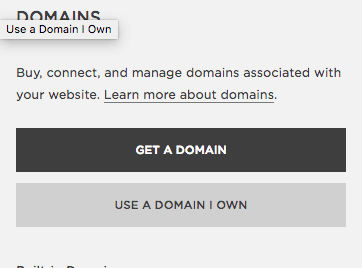
Now select ‘Use a Domain I Own’.
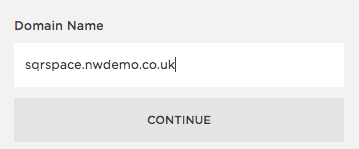
Type your Domain in the box below ‘Domain Name’ – then click ‘Continue’.
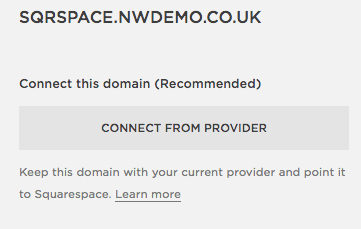
Now select ‘Connect From Provider’.
In the drop down menu – select ‘Other’ and click ‘Connect Domain’.
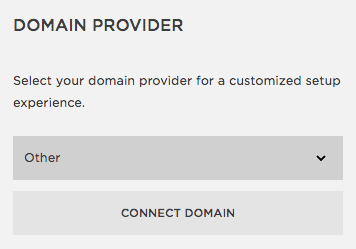
Step 5. Configuring DNS settings
You will now have to configure DNS settings with the ones SquareSpace presents to you.
For example, these were the settings I got back:
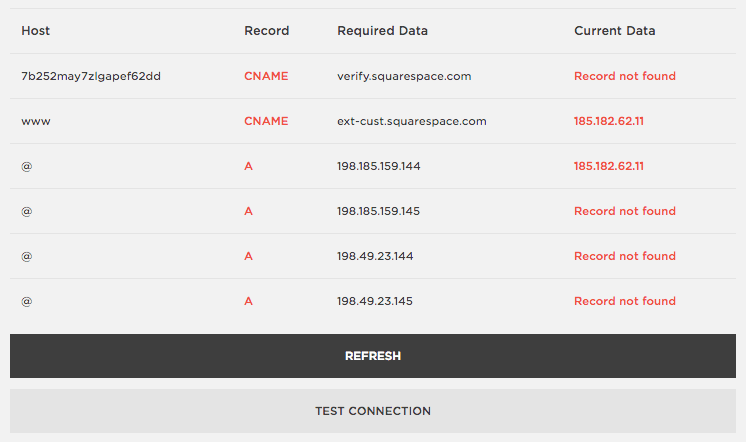
Where there is a ‘CNAME’ you need to create a CNAME record for that host through the control panel, and where there is an ‘A’ you need to create an A record for the required data.
Go to your cPanel tab, then go to Zone Editor to change these.
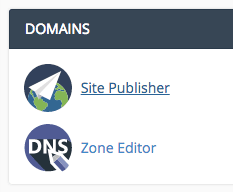

To add a CNAME Record, click ‘ CNAME Record’ and then input the necessary details, followed by the domain name.
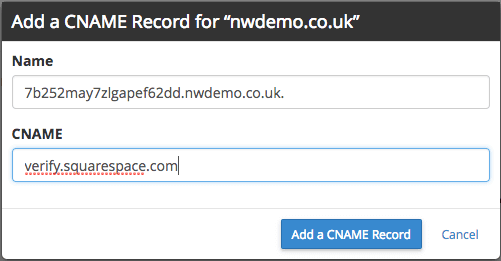
To add a ‘A Record’, click ‘ A record’.
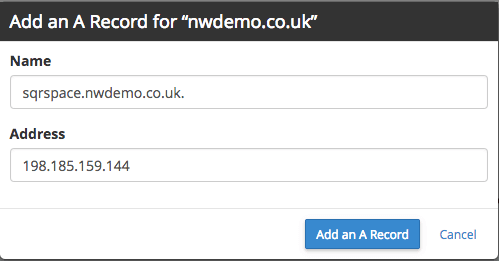
On the SquareSpace DNS setting underneath host, where there is an @, you can simply insert your domain here.
Once you have done these, you should refresh the SquareSpace DNS settings page and the record and current datas should appear green.
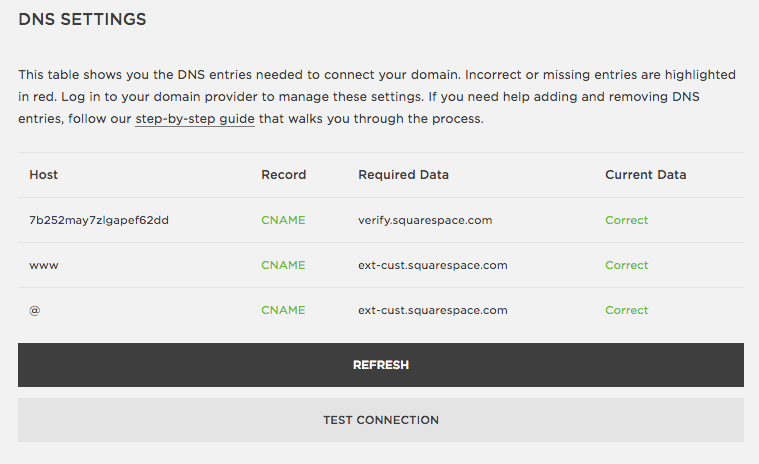
If you click ‘Test Connection’ it should try and load your SquareSpace site through the domain you have linked.
