Setting Up your NetWeaver Email Address on iPhone or iPad
This is a step by step guide in order to set up your email account on your iPhone or iPad.
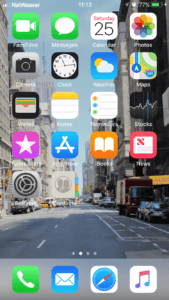
Step 1. Open Settings
From your iPhone home page, click on the ‘Settings’ application,
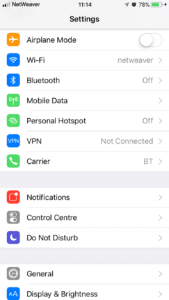
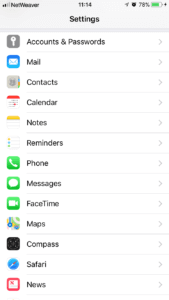
Step 2. Open Accounts & Passwords
From here scroll down to ‘Accounts & Passwords’
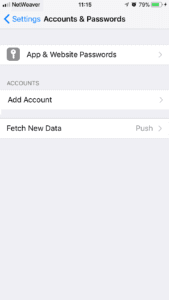
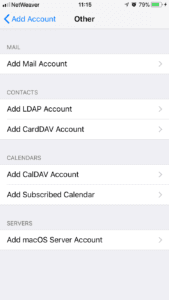
Step 3. Add Account
Press ‘Add Account’, then on the subsequent page, select ‘Other’, on the next page select “Add Mail Account’

Step 4. Inputting Server Details
On this page, make sue IMAP is selected at the top then fill in the following details.
To find these you will need to open the Welcome Email we sent you when you first set up the email, if you did not select this or you can not find it, it is easy to find. Just go to the control panel and search for email. This may be easier from a desktop computer.
Click on the first available option – Email Accounts.
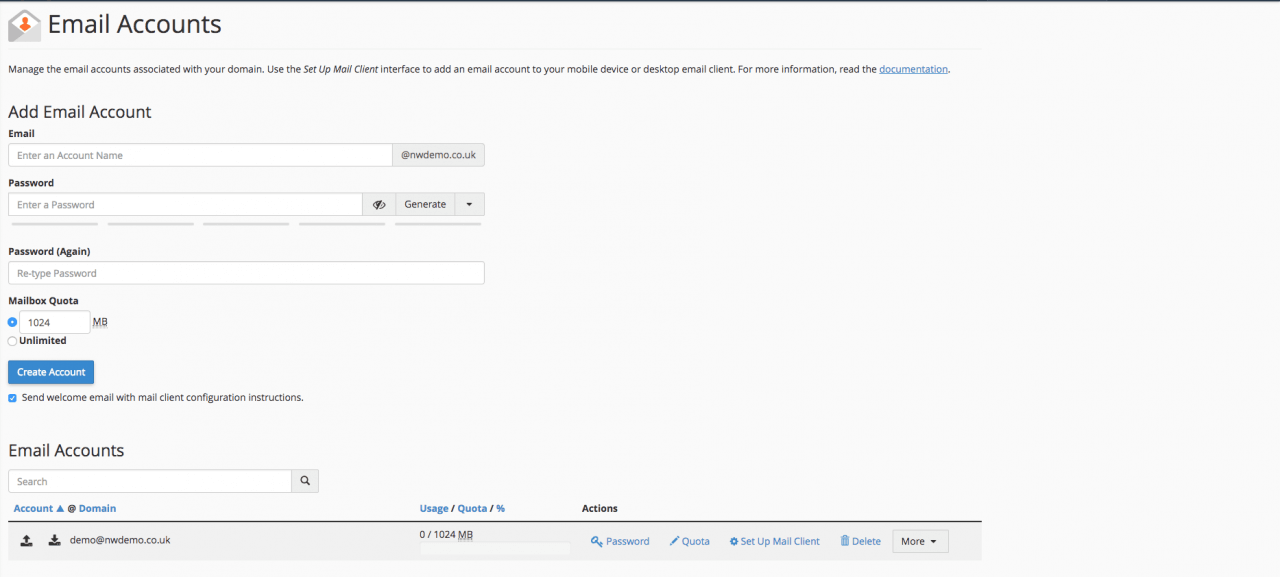
From this page scroll down to where your accounts are listed, under Email Accounts.

Here, for the desired email you would like to set up on your iPhone or iPad.
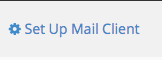
Select ‘Set Up Mail Client’
Here all the details you require should appear under ‘Mail Client Manual Settings’. To fill out on your phone we recommend that you use the secure SSL/TLS settings (the blue box) as oppose to Non-SSL settings (yellow box).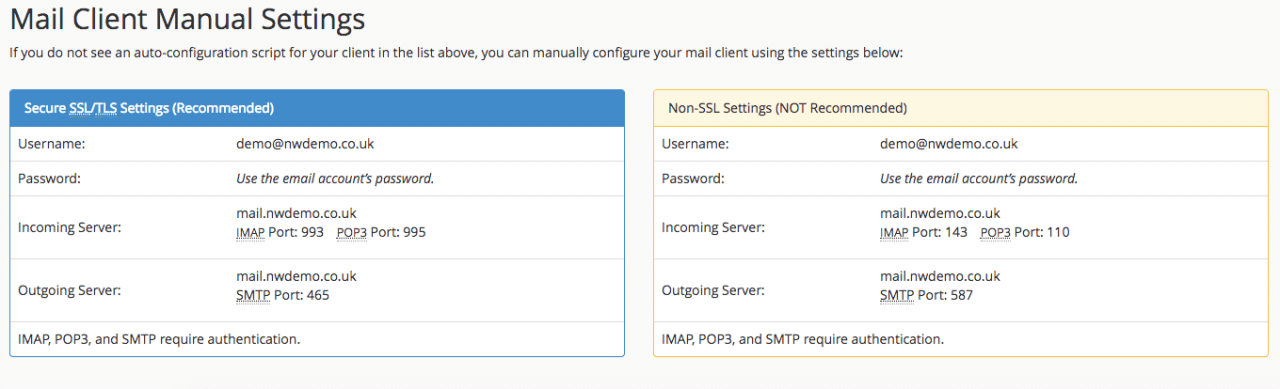
And on your iPhone or iPad use the relevant details to fill out the details on your device.

Name is the name you will appear to others when sending emails from your device. Then the email of the account in question. In the description you can input what you would like the mail box to appear as on your phone through the application.
In the ‘Host Name’ box input the details for the incoming server from the control panel and input the email address in ‘Username’. Type in your password for the specific mail account below.
Repeat this process for the Outgoing Mail Server but use the mail details from the Outgoing Server on the control panel or Welcome Email.
Step 5. Using Your Mail Account
To use your mail account goto the mail application on your device, from the homepage. All your emails should be available from your inbox and you should be able to send and receive emails freely. If there are any problems we recommend you check all your SSL settings from Step 4.