WordPress Desktop App Download and Installation (MacOS)
In order to keep your sites updated it is a good idea to download the WordPress application in order to maintain and build your site.
Step 1. Downloading WordPress
In order to download WordPress, first visit https://apps.wordpress.com/desktop/

Once on the site, click the button below “Download the App:”
![]()
Now wait for the installer to download.
![]()
Step 2. Installing WordPress
Now you need to find the .dmg installer file. It will usually be in your dock at the bottom of your desktop or on your desktop itself. If it is in neither of these places, open finder and look in your “Downloads” folder.
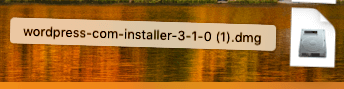
Open the file.
A pop up similar to the one below should appear:
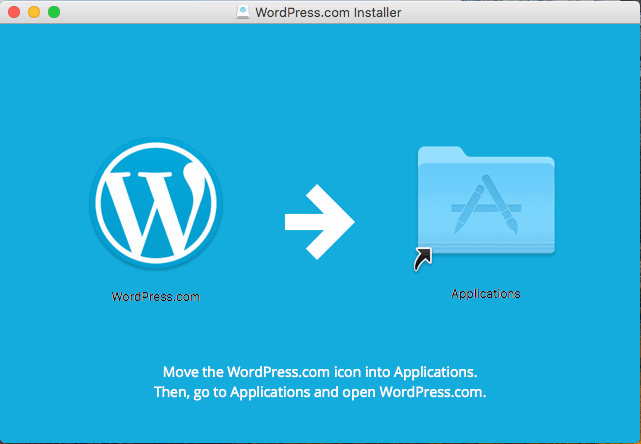
Now drag the WordPress icon into the “Applications” folder.
All the file to be copied into your “Applications” folder and insert your admin login and password for your computer if prompted.
Now you can close the installer window.
Find the WordPress Application in your “Launchpad” and open it.

Allow WordPress to be installed.
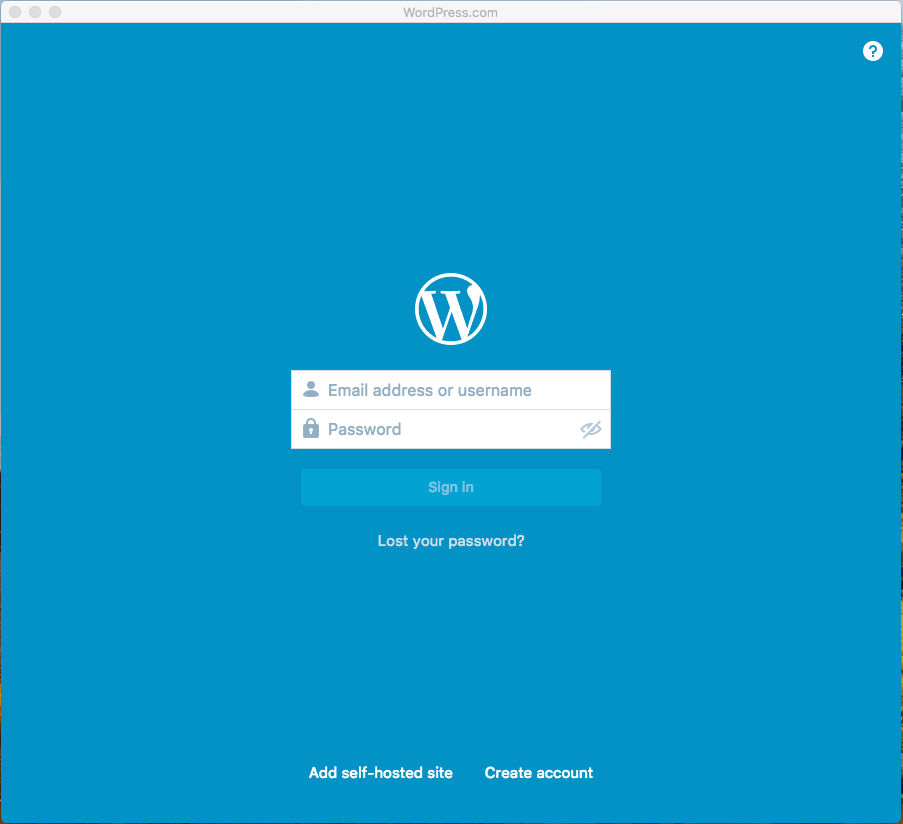
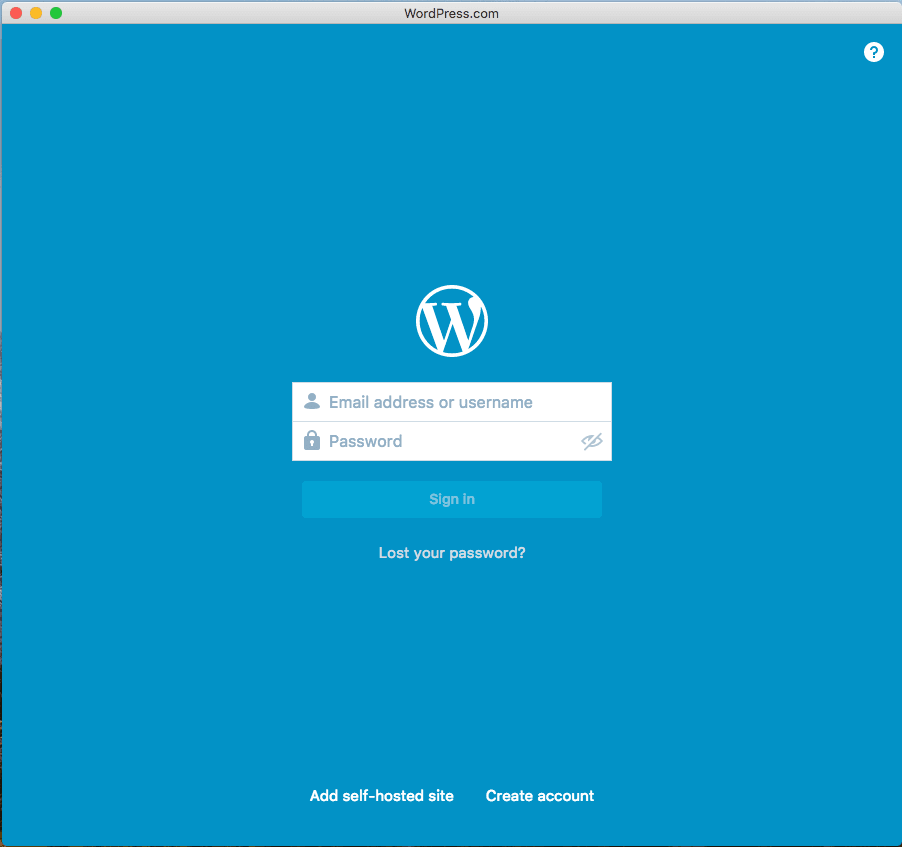
Once finished you should see a Login page for WordPress.
Step 3. Adding a Self-Hosted Site
From this page, Click the “Add self-hosted site” at the bottom of the page.
You will now need to install the Jetpack plugin.
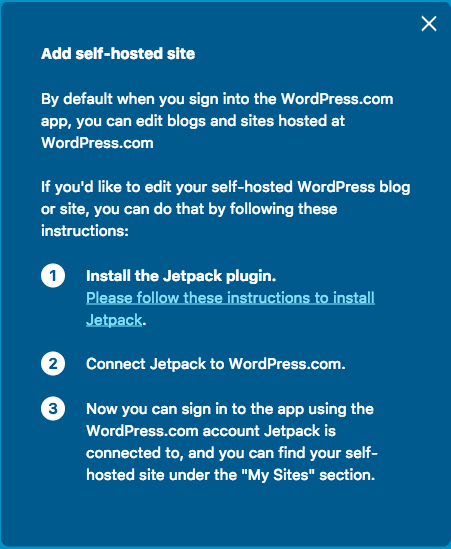
From here, click the “Please follow these instructions to install Jetpack” link.
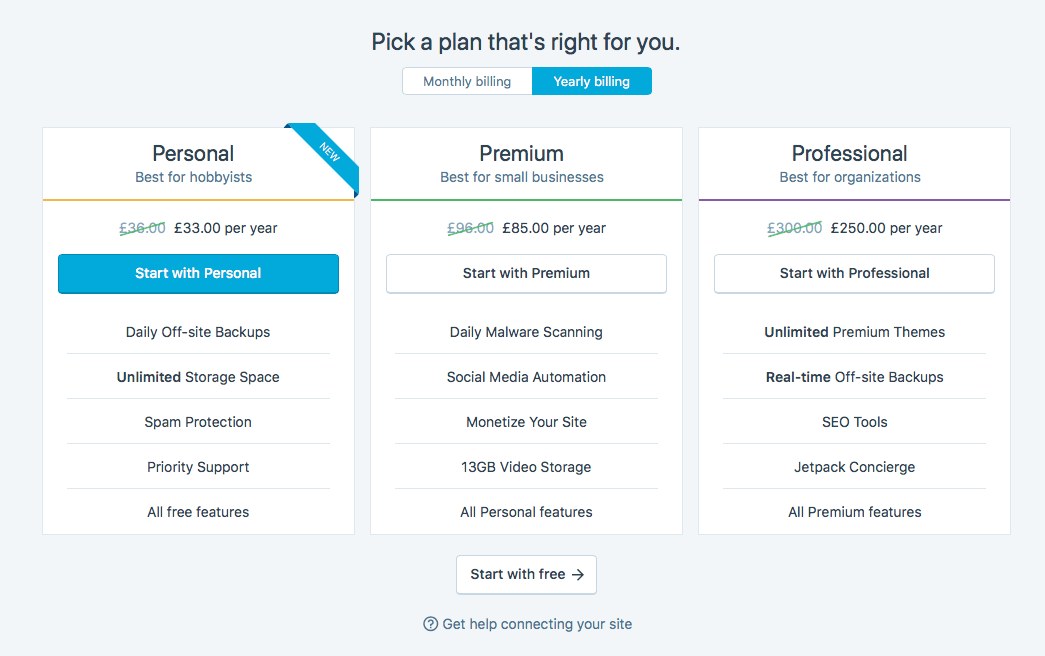
Now you must choose a plan, for the purpose of this guide I will select “Start with free”.
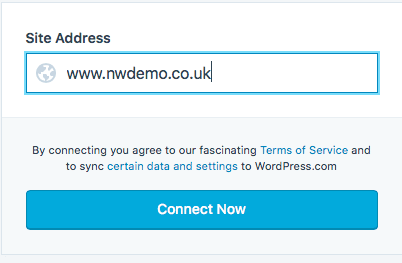
Type your Site Address in the entry box and press “Connect Now”.
Now follow the next steps in order to login to your WordPress site, you could also do this through cPanel.
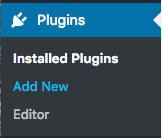
Once logged in, on the left hand side of the page, find “Plugins” and press “Add New”.
Now in the search box, search for “Jetpack”.
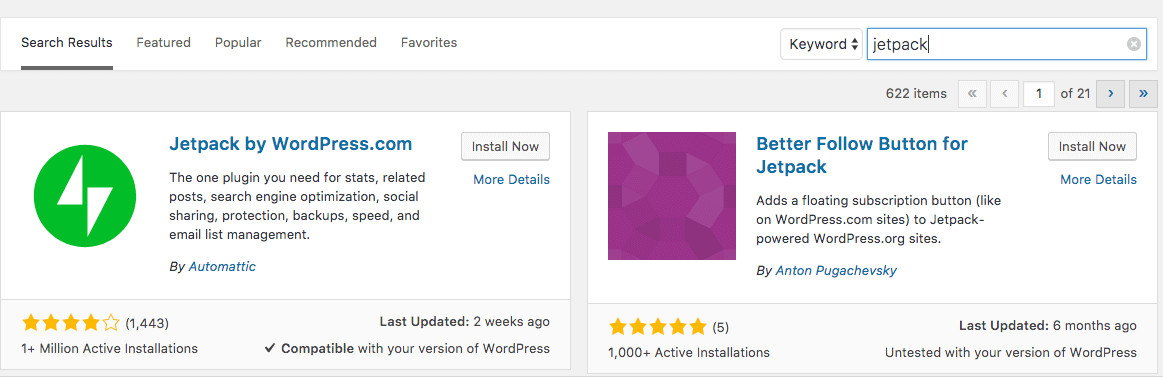
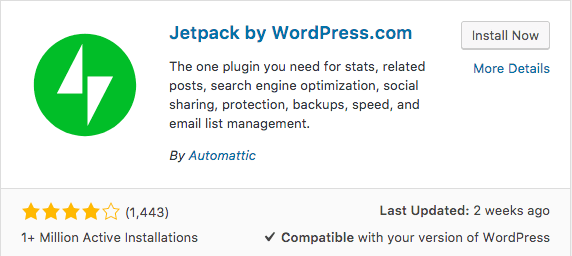
Press “Install Now” on the “Jetpack by WordPress.com” plugin.
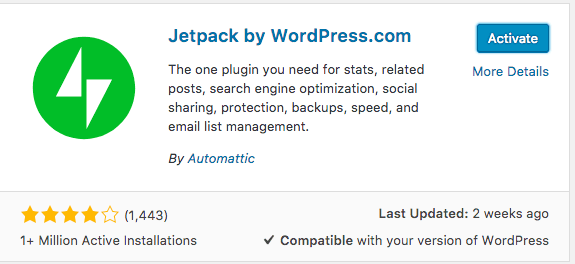
Wait for the plugin to install.
Once installed press “Activate”
Once active, go back to WordPress desktop application and sign in to your account on the first page.
Sign in using you WordPress account, if you have not got one go to the WordPress site and sign up.
Once signed in on the application, press “My Sites” in the top left corner.
Then press “Switch Site”.

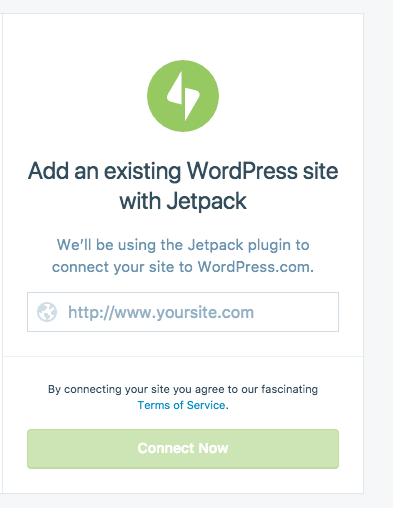
The “Add a New Site”‘.

Under the “Add an existing WordPress site with Jetpack” input the domain of the site you wish to add. Press “Connect Now”. Providing the Jetpack plugin is active on your WordPress site, the desktop application should soon connect to your Self Hosted Site.
You can repeat this for multiple sites if needs be.