How to Setup an Autoresponder
This guide will show you how to setup an autoresponder for any of your email accounts.
Step1. Navigate to the Control Panel
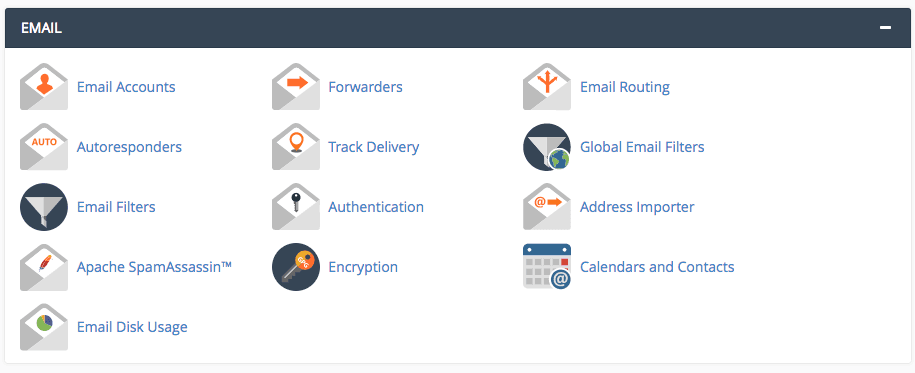
Once you have signed in to the control panel, scroll down to the ‘EMAIL’ heading and select ‘Autoresponders’.
Step 2. Setting Up the Autoresponder
Now you can set up your Autoresponder by filling in the following form.
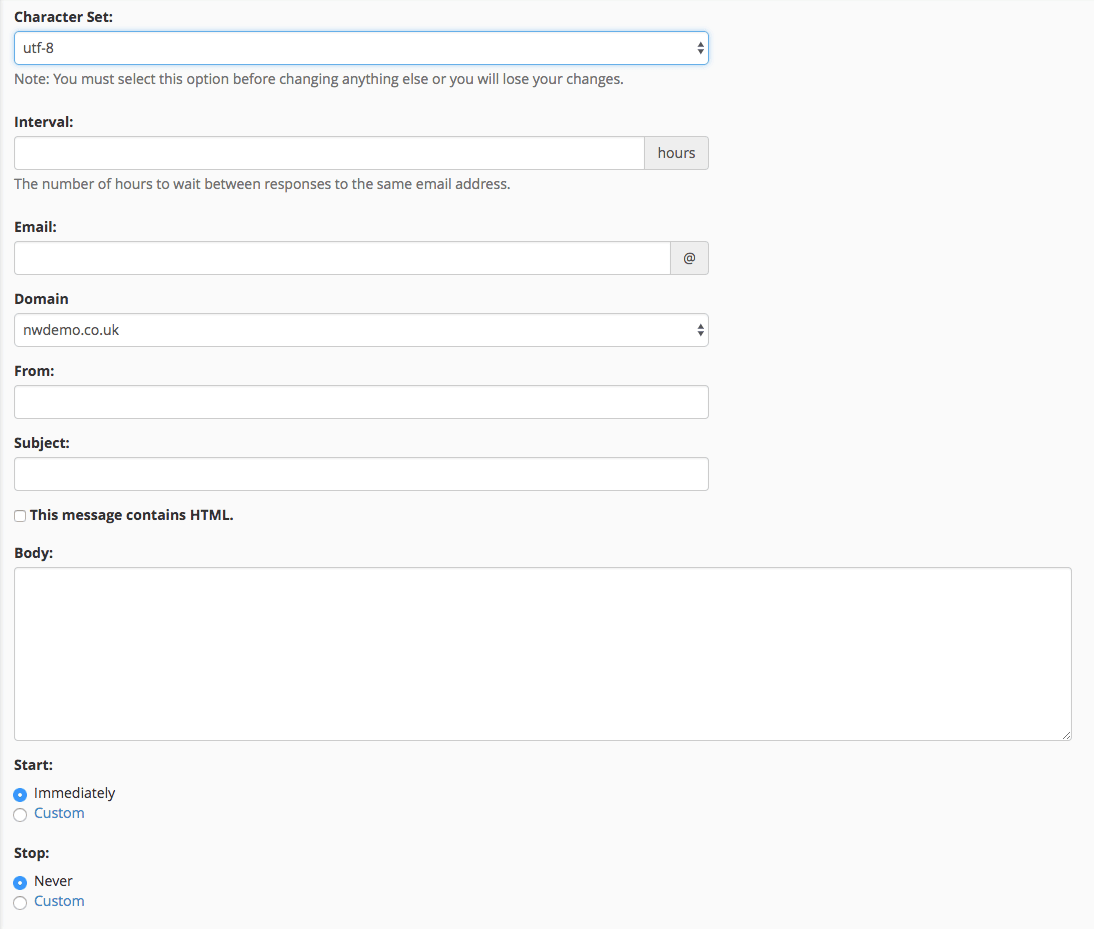
We recommend having the ‘Character Set:’ set at ‘utf-8’.
The ‘Interval:’ is the amount of time the Autoresponder will wait before sending the autoresponding email to the sender. If you wish to have no wait before the email is sent. Set this to ‘0’.
The ‘Email:’ is the email the autoresponder will be set to, so if an email at that address is received, the auto response will be sent out.
The ‘Domain’ is your specific mail domain for this address which is the second part of your address.
The ‘From:’ field is who the auto response will show up as being from when it is sent. This does not have to be set as an email address, it can simply be your company name or anything you want.
The ‘Subject:’ field is the subject your auto response email will have.
If you wish to just write your email as a standard email without HTML, do not select the ‘This message contains HTML’. If you wish to write your auto response in HTML, please specify this box – although your ‘Body:’ should be HTML based, If you are not sure how to do this, please see our guide on How to Setup Autoresponders with HTML.
The ‘Body:’ field is the content your email will contain. This is simply what you would like the auto response to say.
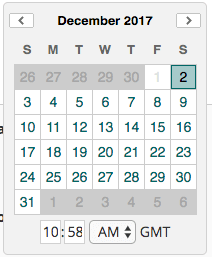
If you wish for your auto response to be on constantly, select ‘Immediately’ under the ‘Start:’ heading and ‘Never’ under the ‘Stop:’ heading. Equally if you wish to have the auto repsonse to have a specific date. You can do this using the ‘Custom’ option under both headings. This will give you a calendar from which you can select your required date(s) from.
Once you have selected all your required options, please select ‘Create/Modify’,
This will either create your autoresponder or modify your existing responder set to this email account.