Managing your NetWeaver Email Accounts
This guide will show you how to manage your email accounts and include certain features which you can use to manage your accounts.
In order to start managing, first, you need to go to the control panel – if you are unsure of how to do this, take a look at the guide to do this.
Once you have got to the control panel, using the search bar at the top, search ’email’ and select ‘Email Accounts’.

This should bring you to a page which you have previously used to set up an Email account.
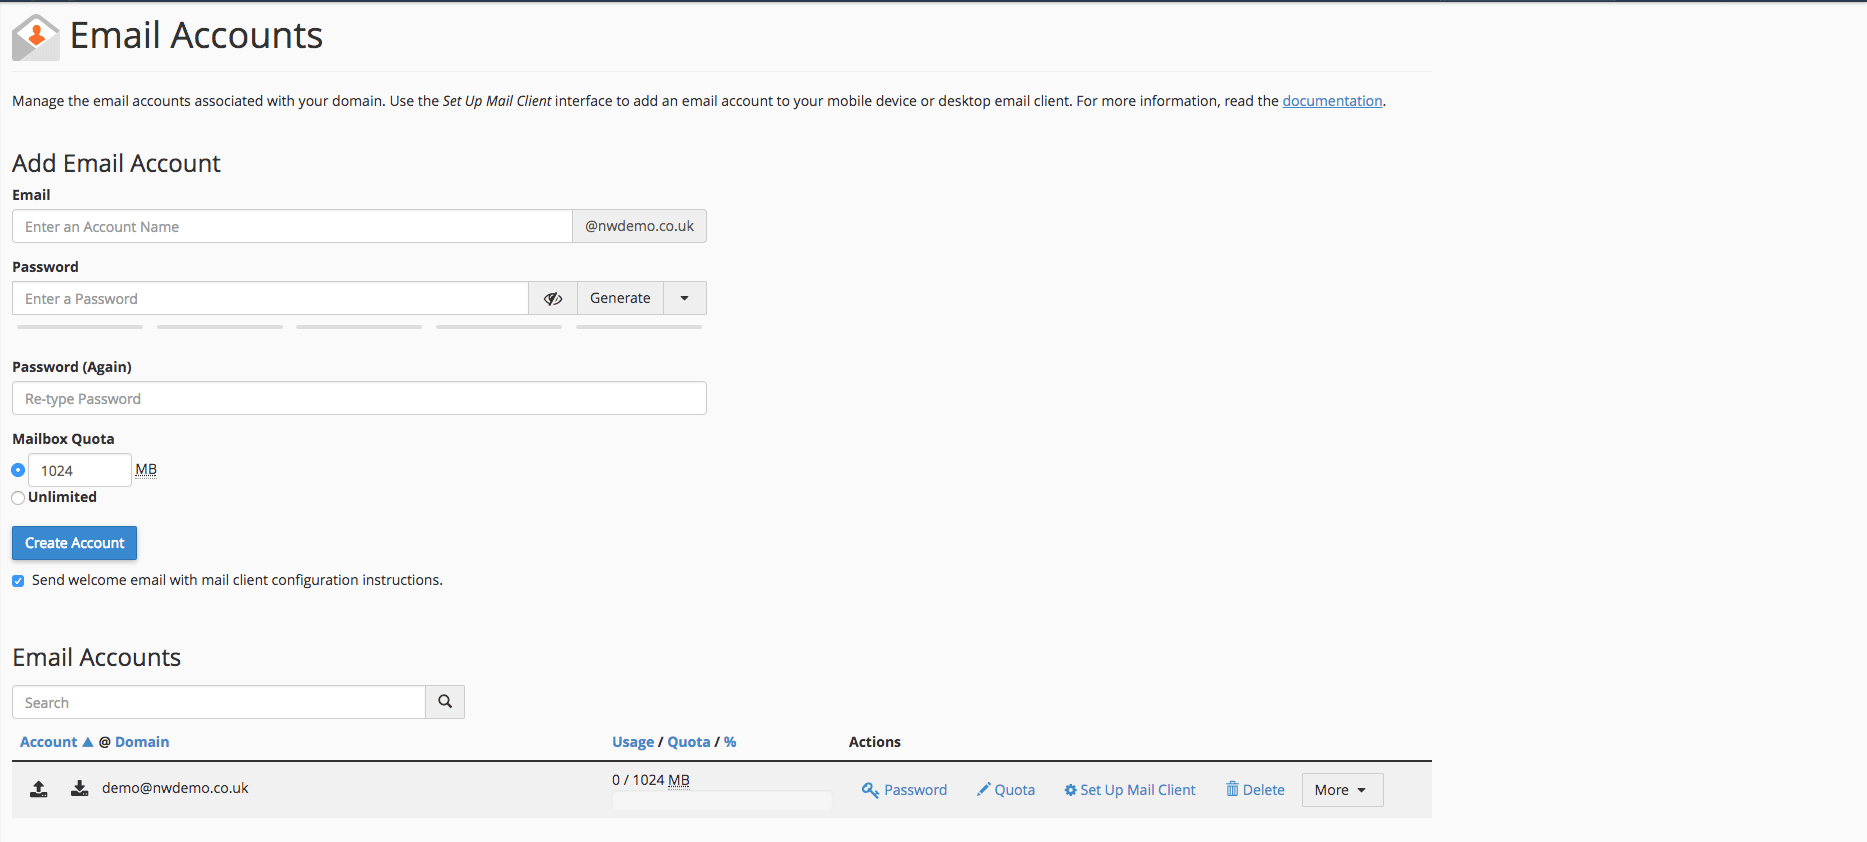
Scroll down to the heading ‘Email Accounts’. This is where you can manage your account.

Domains
Under the ‘Domain’ section is the address itself.
Usage/Quotas
Under the ‘Usage/Quota’ section, you can see how full the user’s inbox is, out of the specified limit. Although you can have an unlimited limit when setting up the email account, we recommend having it set a 1024MB to ensure all the email accounts can run smoothly in the event of one becoming full.
If you would like to change this, click ‘Quota’ button.

If you would like to increase or decrease the quota, you can by typing your desired quota size in the ‘Mailbox Quota’ box, although we do not recommend selecting ‘Unlimited’ as this may compromise the integrity of all other email accounts.
Passwords
Under ‘Password’ you have the ability to change the password of the user, without requiring the existing password, this keeps the passwords secure. If you need to reset the password of the account, click the ‘Password’ button.
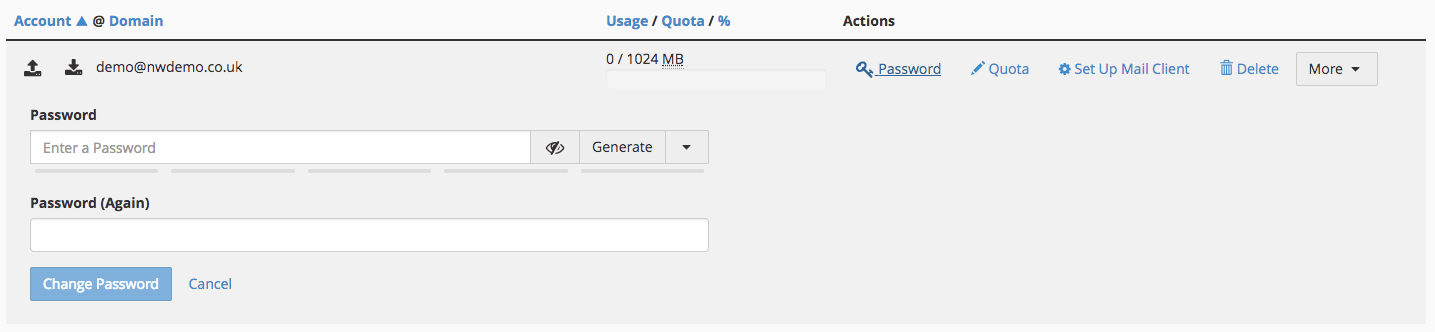
When resetting the password in question you can input a desired password or use the Generator in order to ensure that little bit more security.
Set Up Mail Client
If you access an email account through a desktop email application such as “MacOS® Mail.app® for “Lion” (10.7+)”, the email application will require specific information about your email account. You can use the auto-configure options by clicking ‘Set Up Mail Client’ to attempt to automatically configure your email application. However if the available options are not compatible with your application, you will need to use the Manual Settings information in the blue box.

Delete
You may wish to delete an account you can press the ‘Delete’ button.
More
By clicking ‘More’ you can view more options in managing your site.

Here you can Suspend, Suspend Login and Suspend Incoming Mail. Through Suspending you prevent Mail incoming and Outgoing – You cannot login either to a suspended account. Through Suspending Login, the account can receive emails but the user is unable to login. Through Suspending Incoming Mail the user will not be able to receive emails but will be able to login and send emails. If you wish to carry out any of these we recommend you see our guide to ‘Suspending Email Accounts’ (link).
Also you can Access Webmail, this means you can set up the accounts to be accessible through your preferred browser. If you wish to do this, we suggest you see our guide to ‘Accessing Webmail’ (link).
The final option is to ‘Manage Disk Usage’, if you wish to do this please see our guide to ‘Managing Disk Usage’.