This article is a step by step guide on how to set up a new NetWeaver email account in the Control Panel.
Step 1. Navigating To The Control Panel
If you are struggling see our How To Find The Control Panel guide.

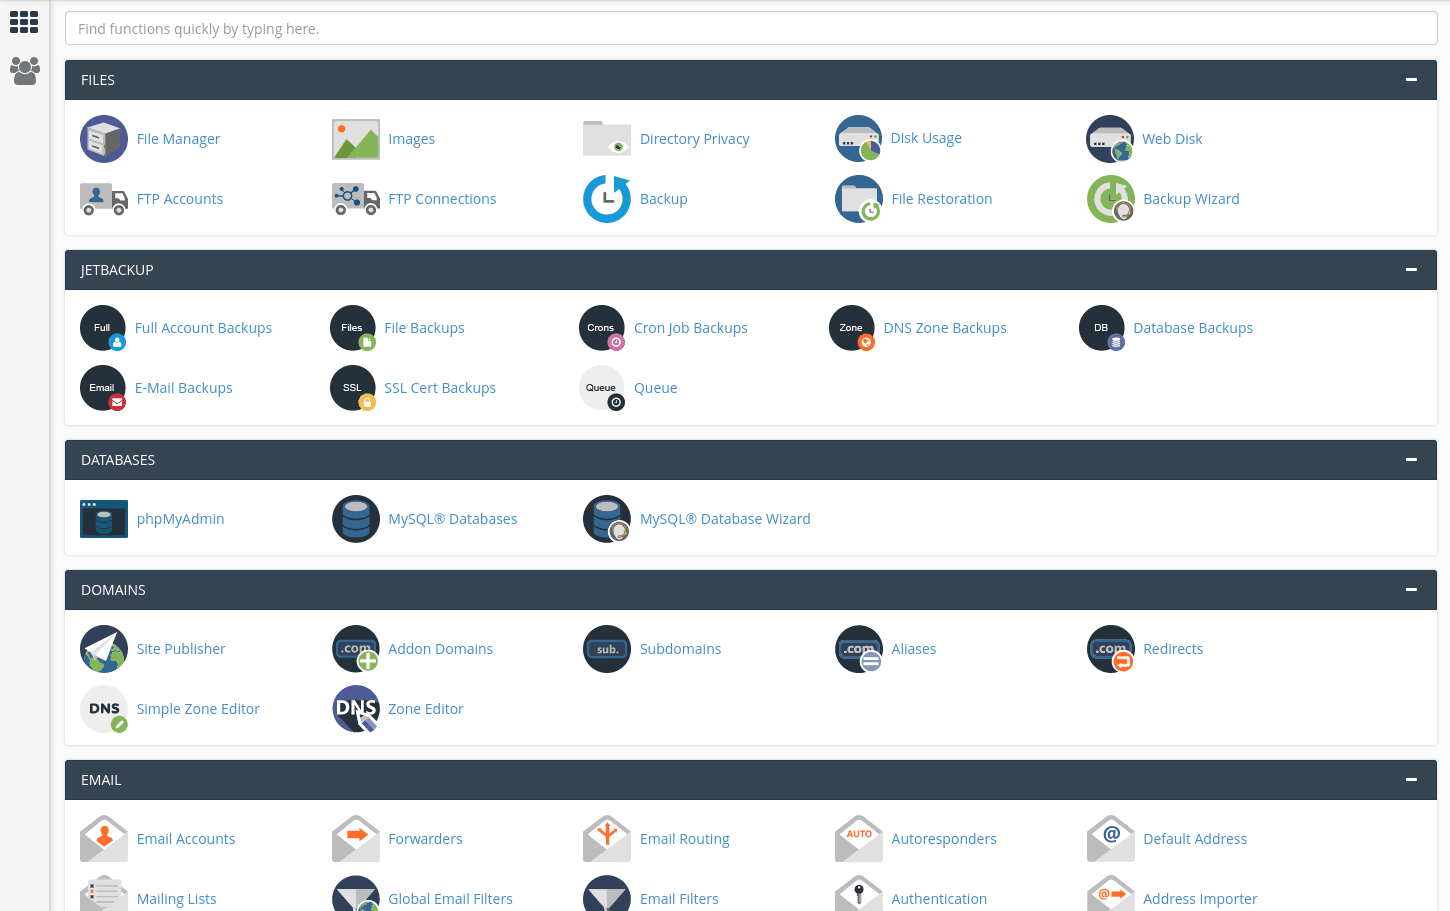
Step 2. Locate the email section in the control panel

Using the search bar near the top of the screen type ’email’, then select the link with the heading ‘Email Accounts’.
Step 3. Creating Your Email Account

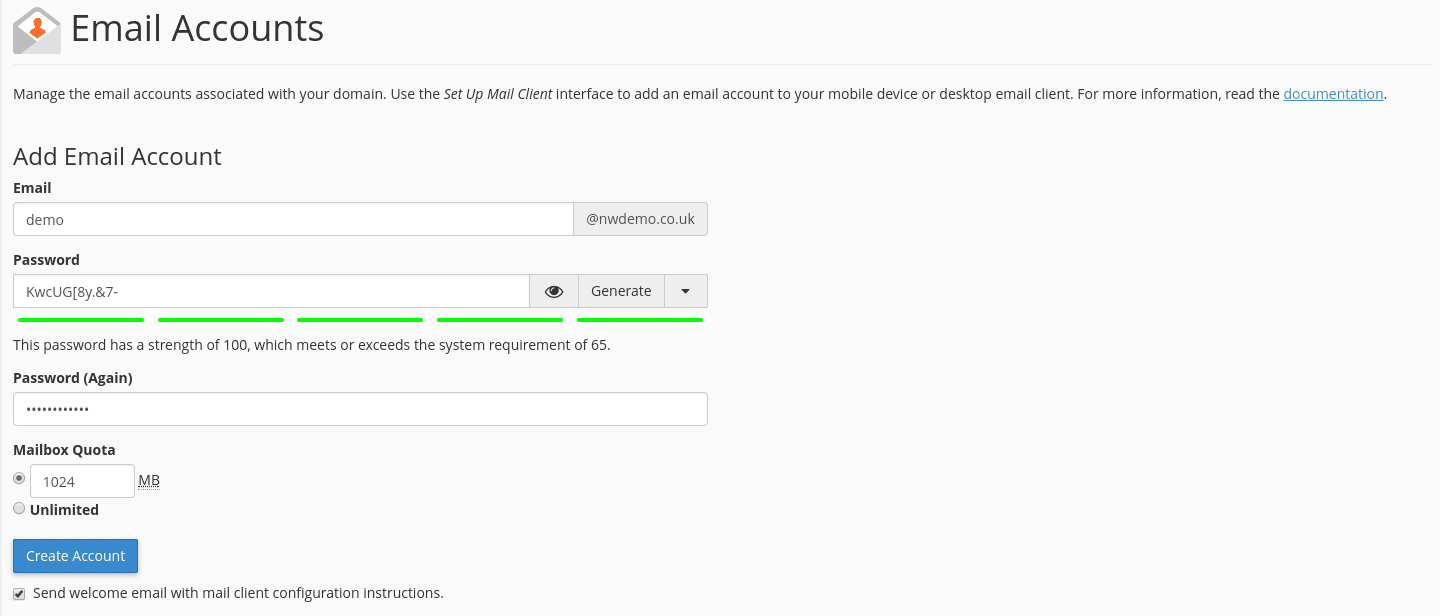
Here you should see a page as shown above with the sub-heading ‘Add Email Account’.
Type your desired email address followed by your password, or if you are struggling to meet the requirements you can generate an ideal password using the drop down tool on the right.
The Mailbox Quota section determines the maximum storage space allowed for that email account. We recommend 1024 MB however if you feel you will need more you can change this here.
Once you are satisfied with your account, click the blue ‘Create Account’ box.

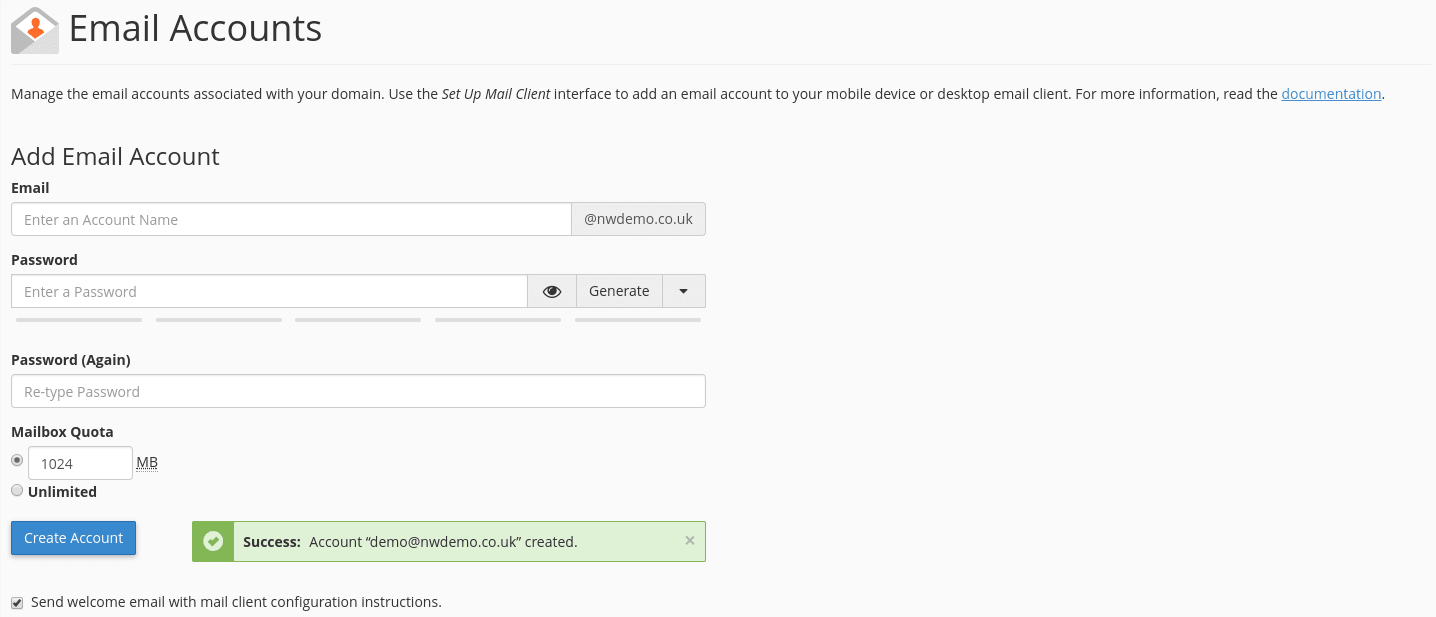
If successful, a green box will appear to notify you that your account has been created as shown above.
You’ll also now be presented with the connection details you need to add this address to your favourite email software.
